
Download the Virtual Machine Image
- Download the virtual machine image from this link.
Importing the Virtual Machine Into Hyper-V
- Extract the zip file to the location/server that you would like the virtual hard drive to reside.
- Open Hyper-V Manager and select 'Import Virtual Machine'
- Select Next on the 'Before you begin' screen
- Select 'Browse' and select the folder that contains the extracted files
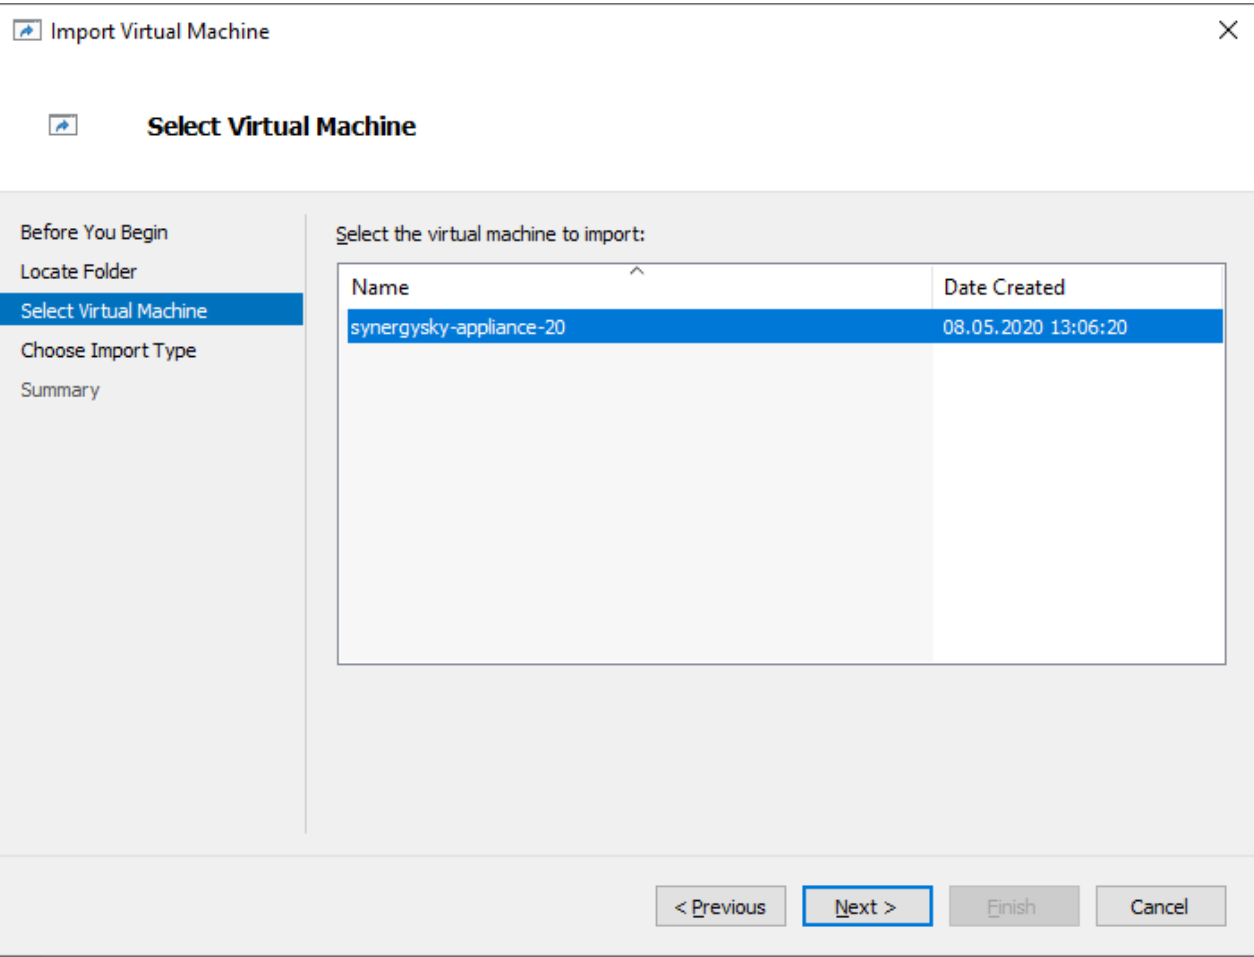
- On the 'Select Virtual Machine' Window, you should see 'synergysky-appliance-20', then select next.
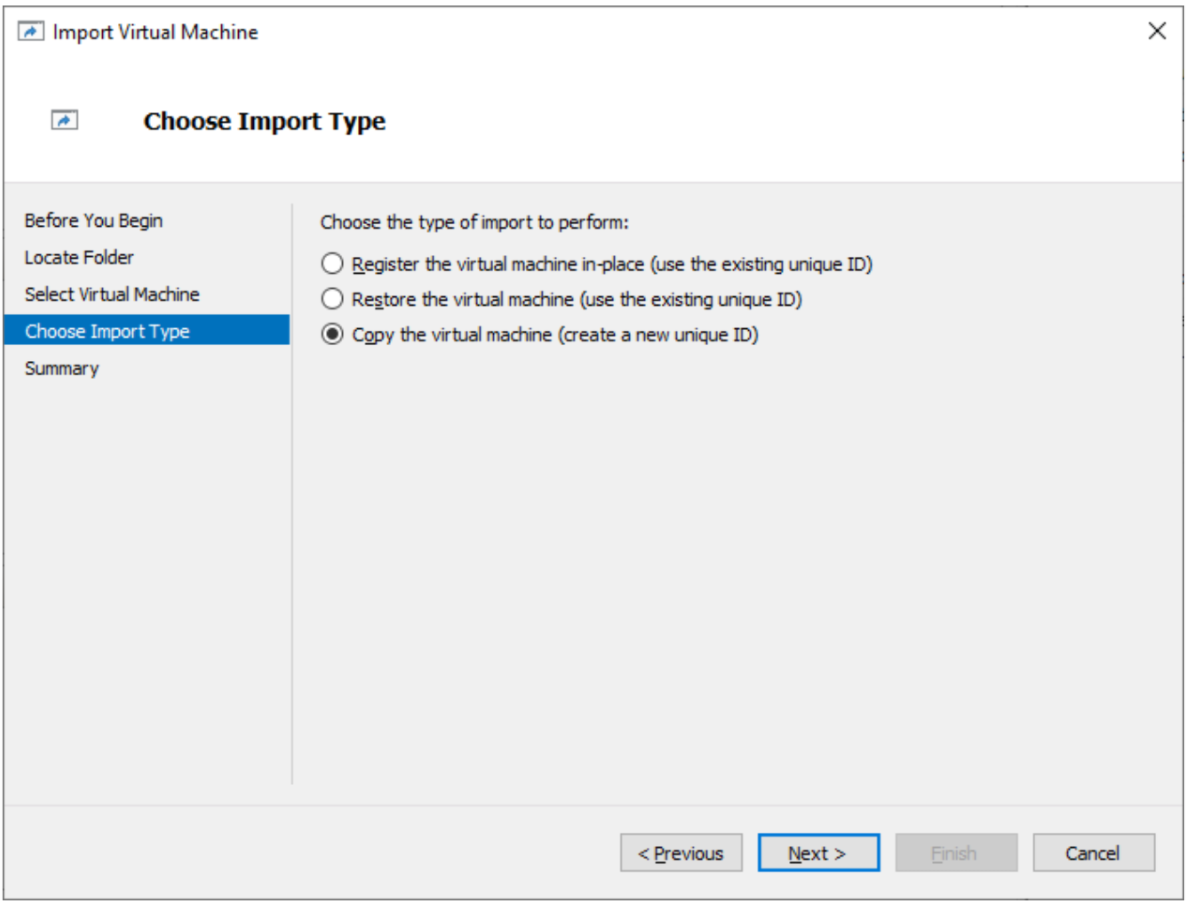
- For the import type, select 'Copy the virtual machine (create a new unique ID)' and select next
-
Select the checkbox to "Store the virtual machine in a different location"
- Change the drive to a location that works for your installation
Note: We recommend using the same drive you are installing the configuration folder to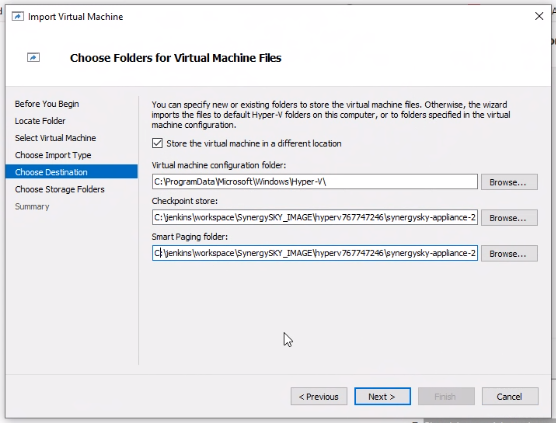
-
Select the folder for where you would like to store your Virtual Hard Disks by click browse and selecting the folder. Click Next
Note: Connect Network Error:
If you receive an error notifying you that the network card is unavailable, select a valid network card and click next. If no network card is found, refer to the Hyper-V documentation on how to add network cards.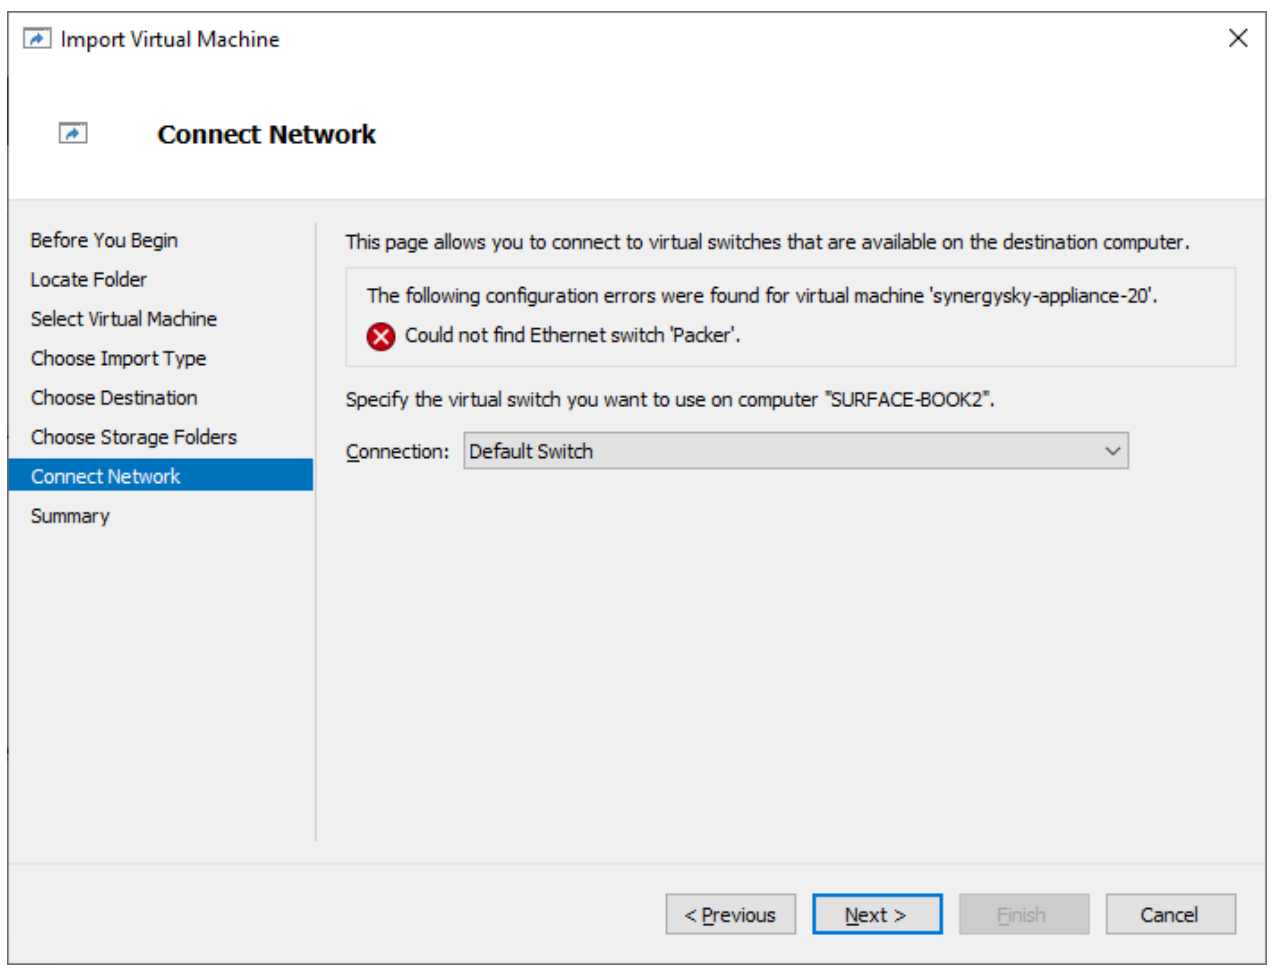
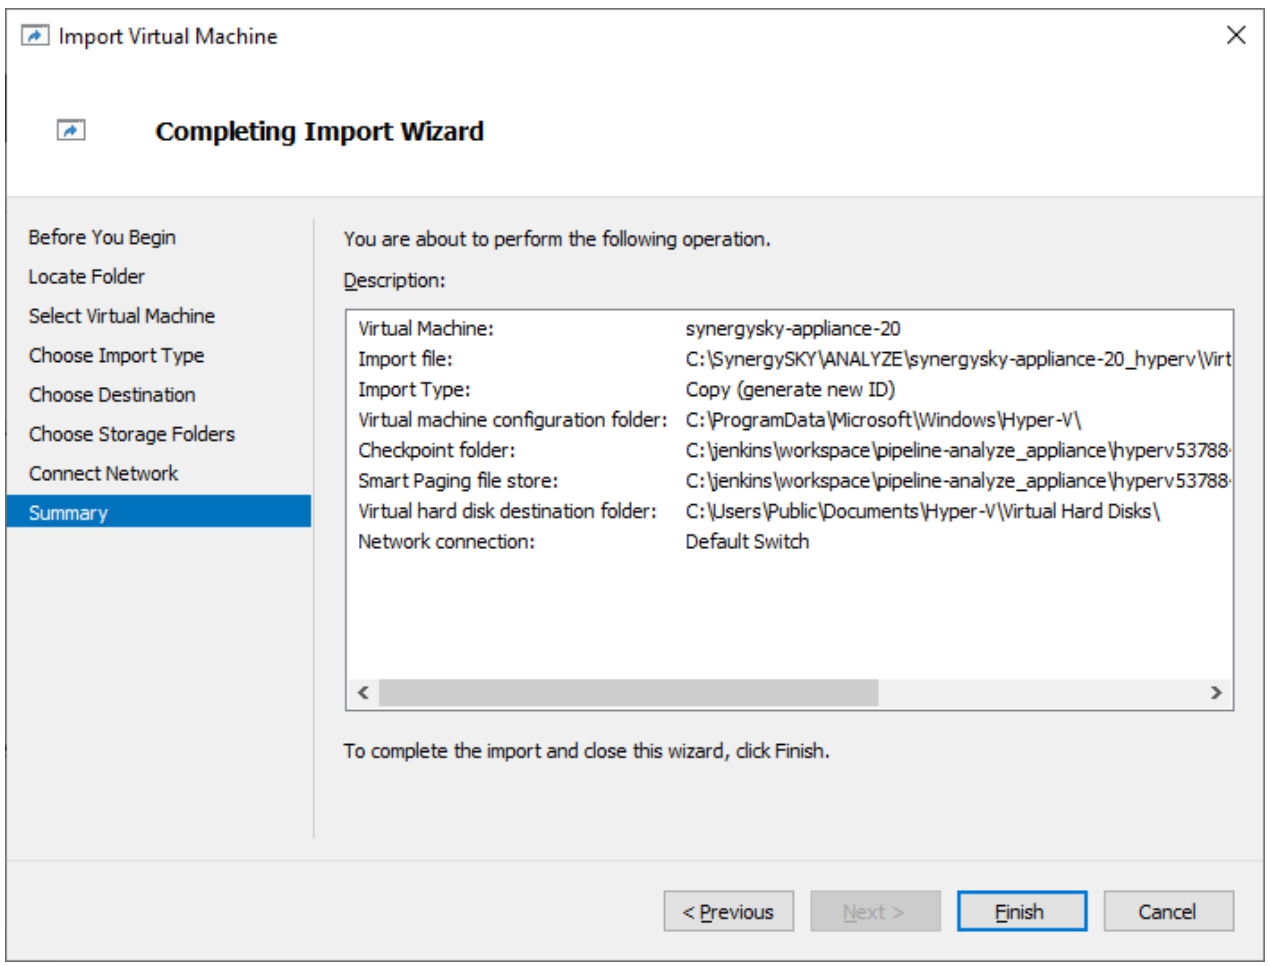
- Once you have selected all of the required fields, Verify that all of the listed locations are as expected and Select Finish.
Creating a Secondary Disk
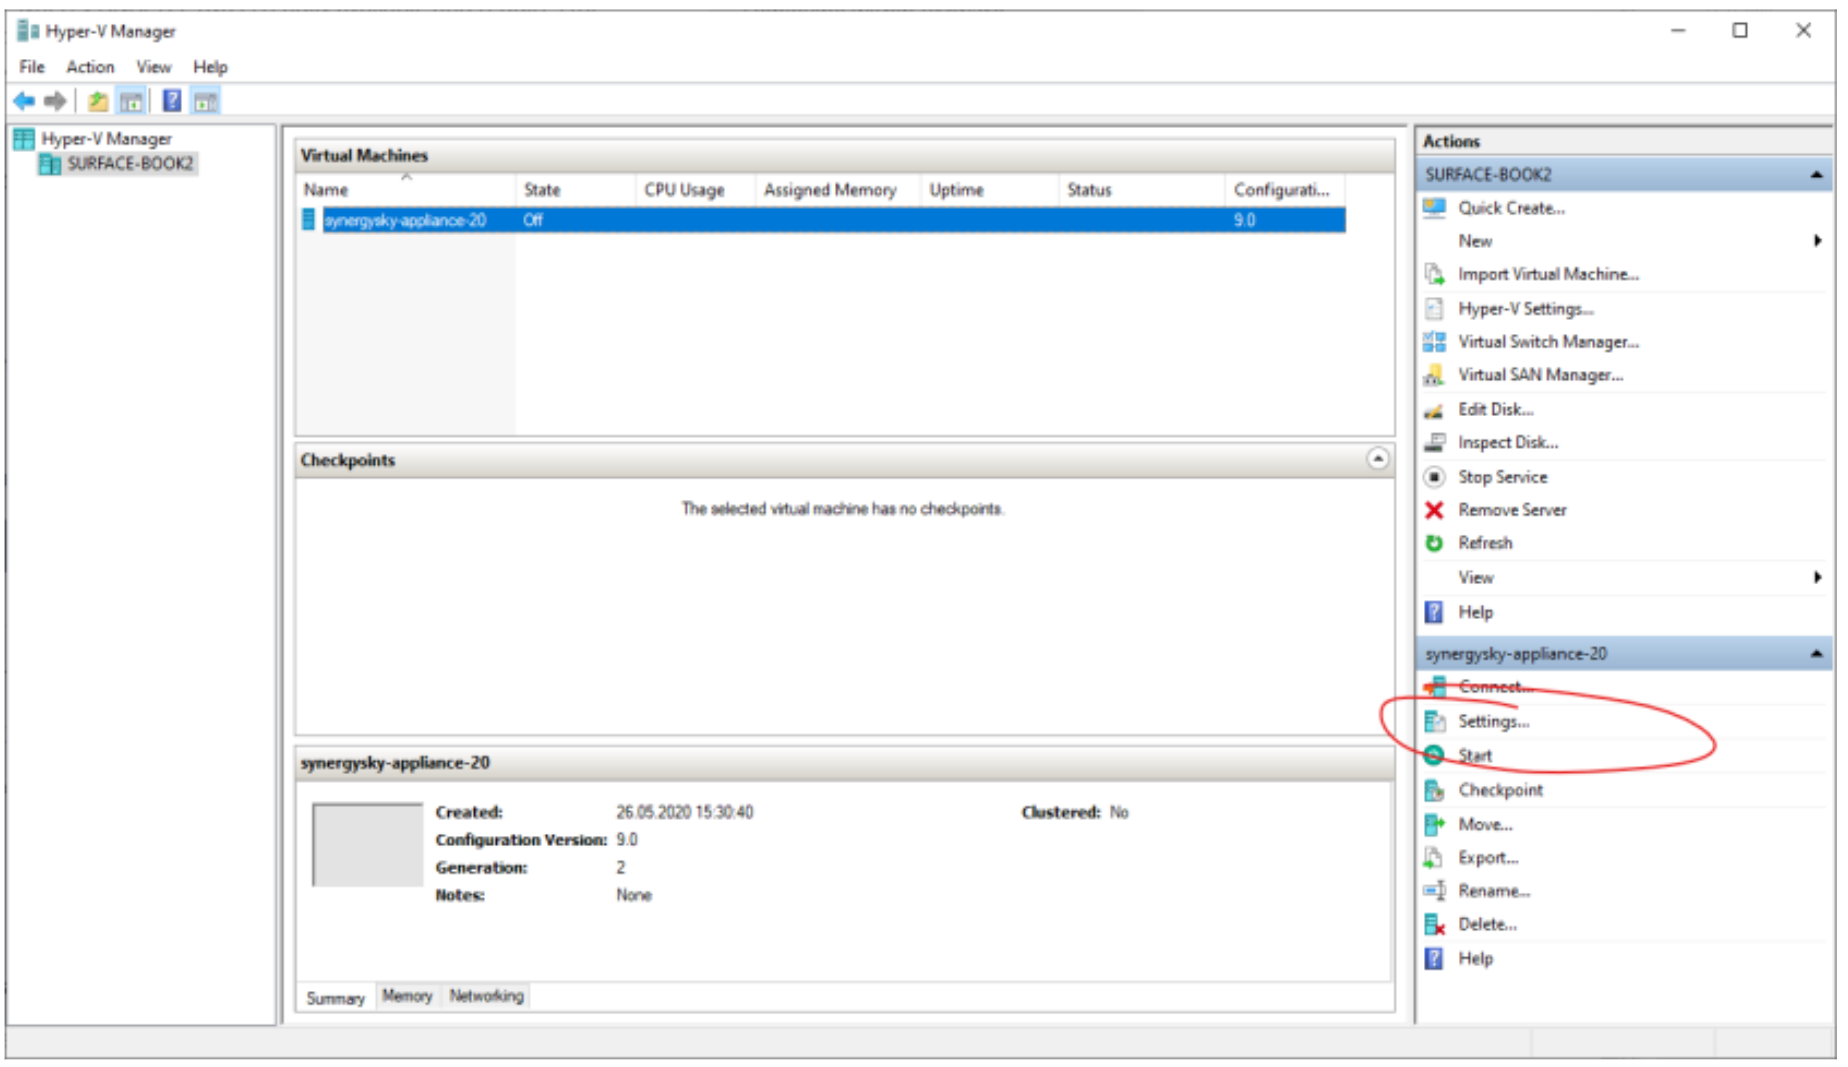
- Once the image has been imported and is available as a virtual machine in your Hyper-V environment, select the Virtual Machine and choose 'Settings' from the Actions menu
- Underneath Hardware, Select SCSI Controller, highlight 'Hard Drive' from the SCSI Controller list and select 'Add'

- Within the 'Hard Drive' screen, select 'New'
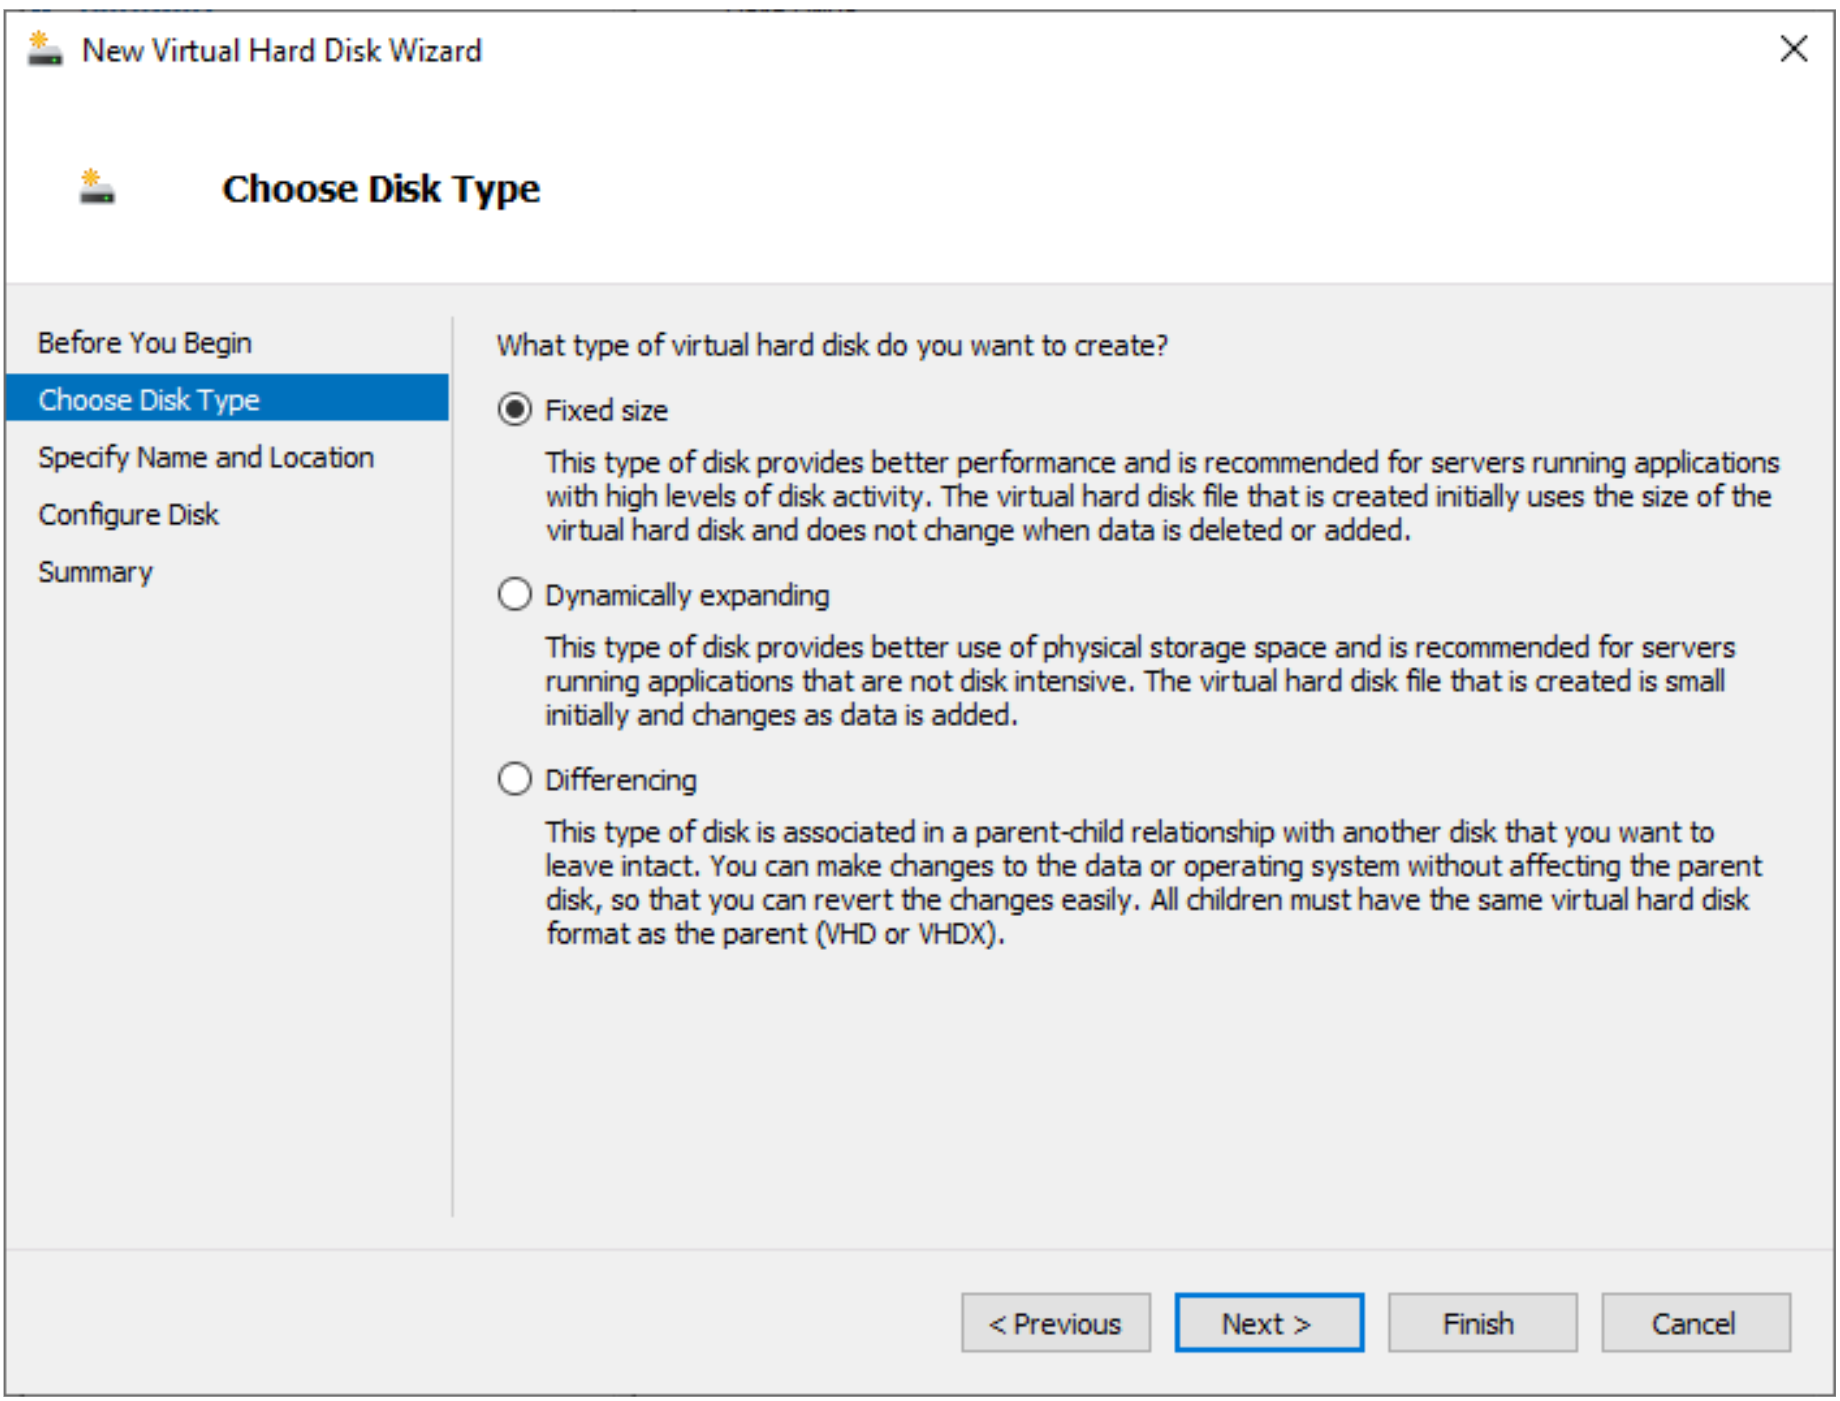
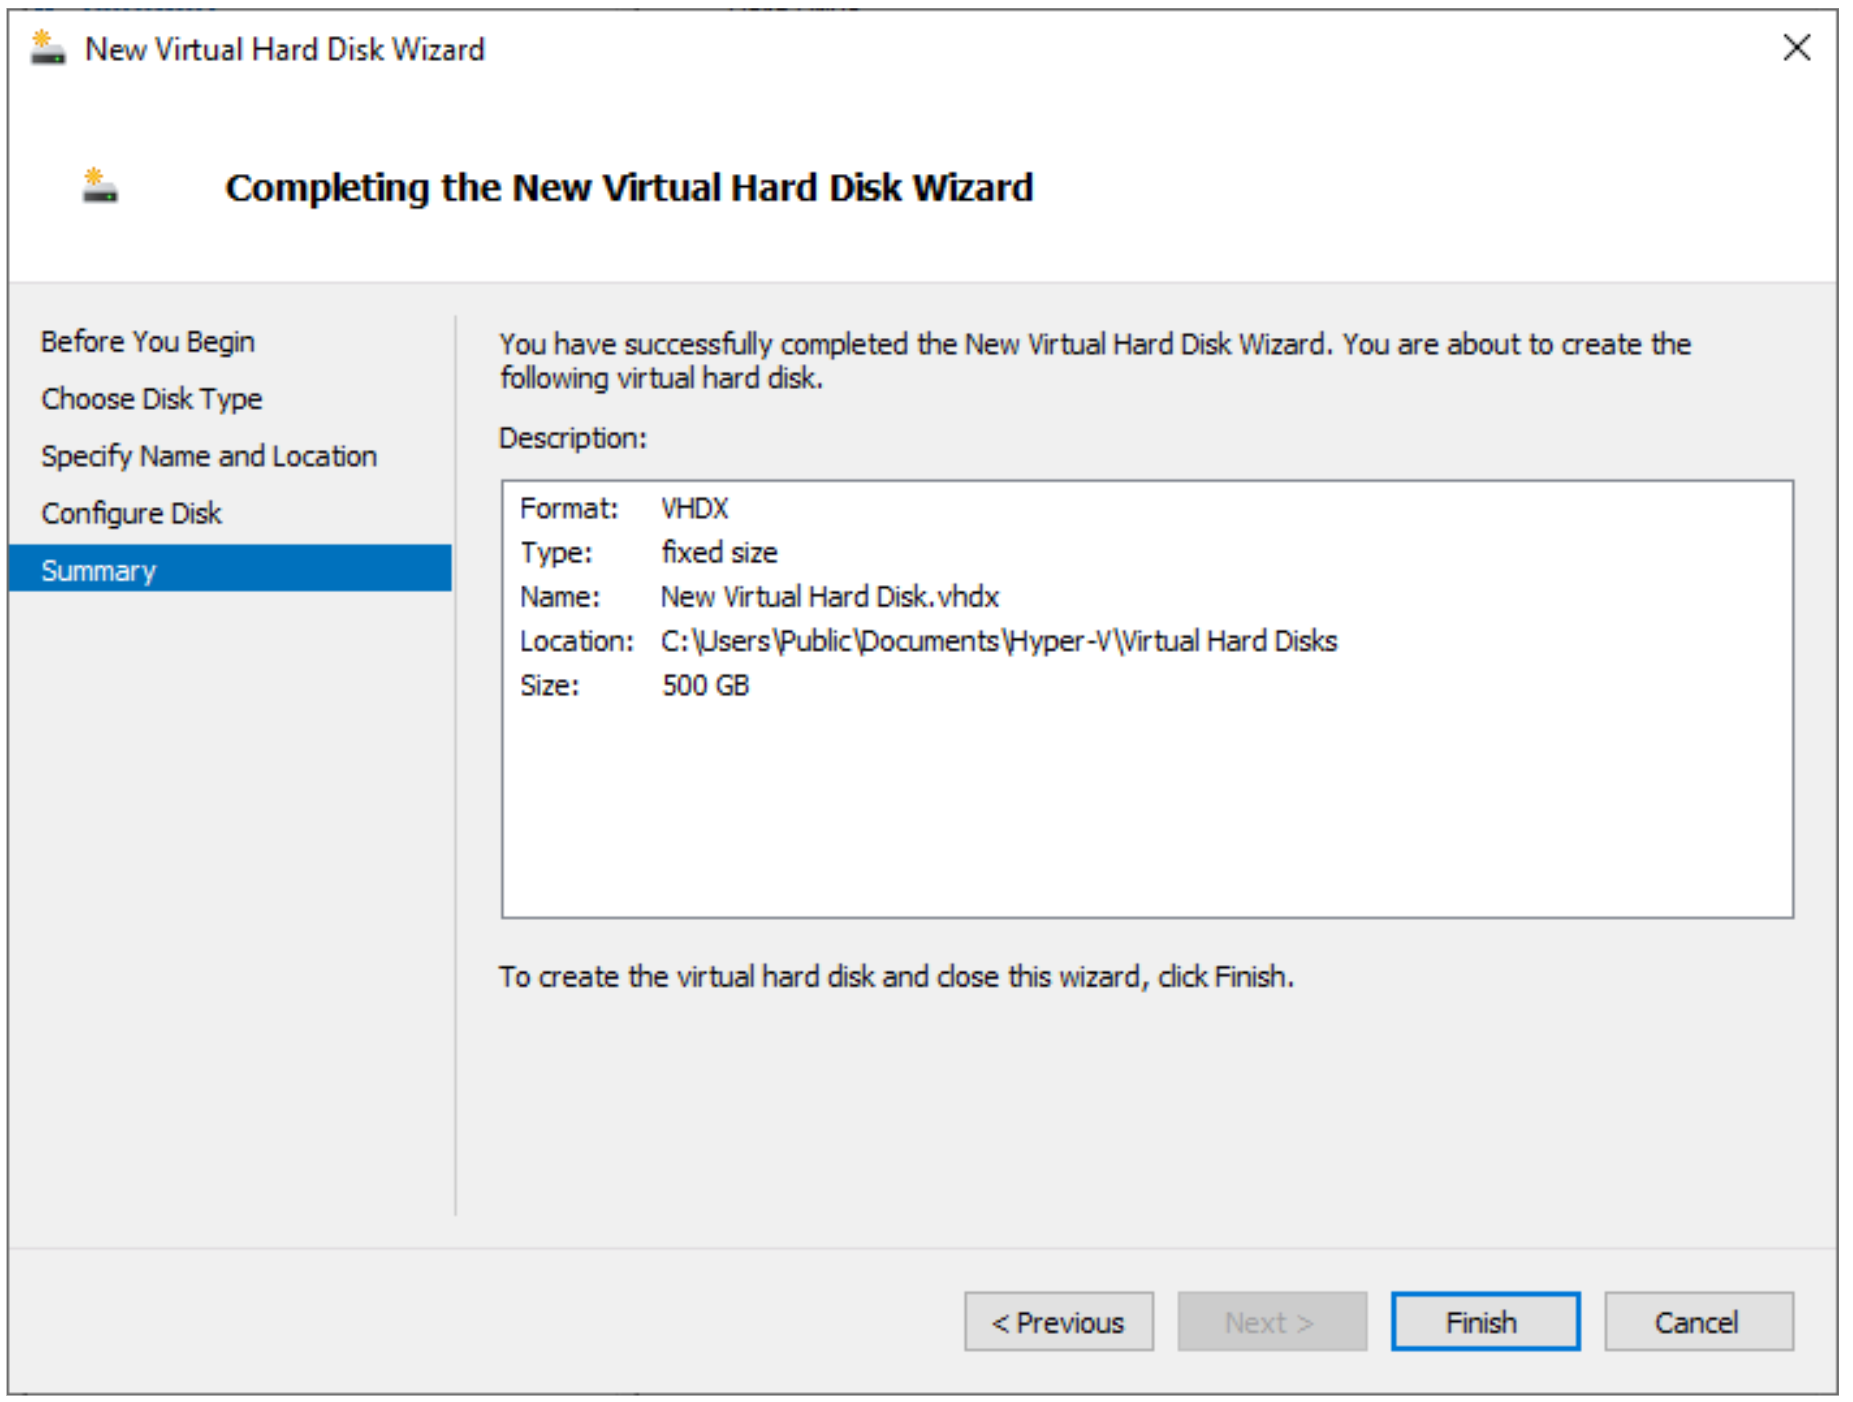
- For the Disk Type, select the 'Fixed Size' disk and select Next.
- Provide your new disk with a name and select the location for where you would like to store the hard disk.
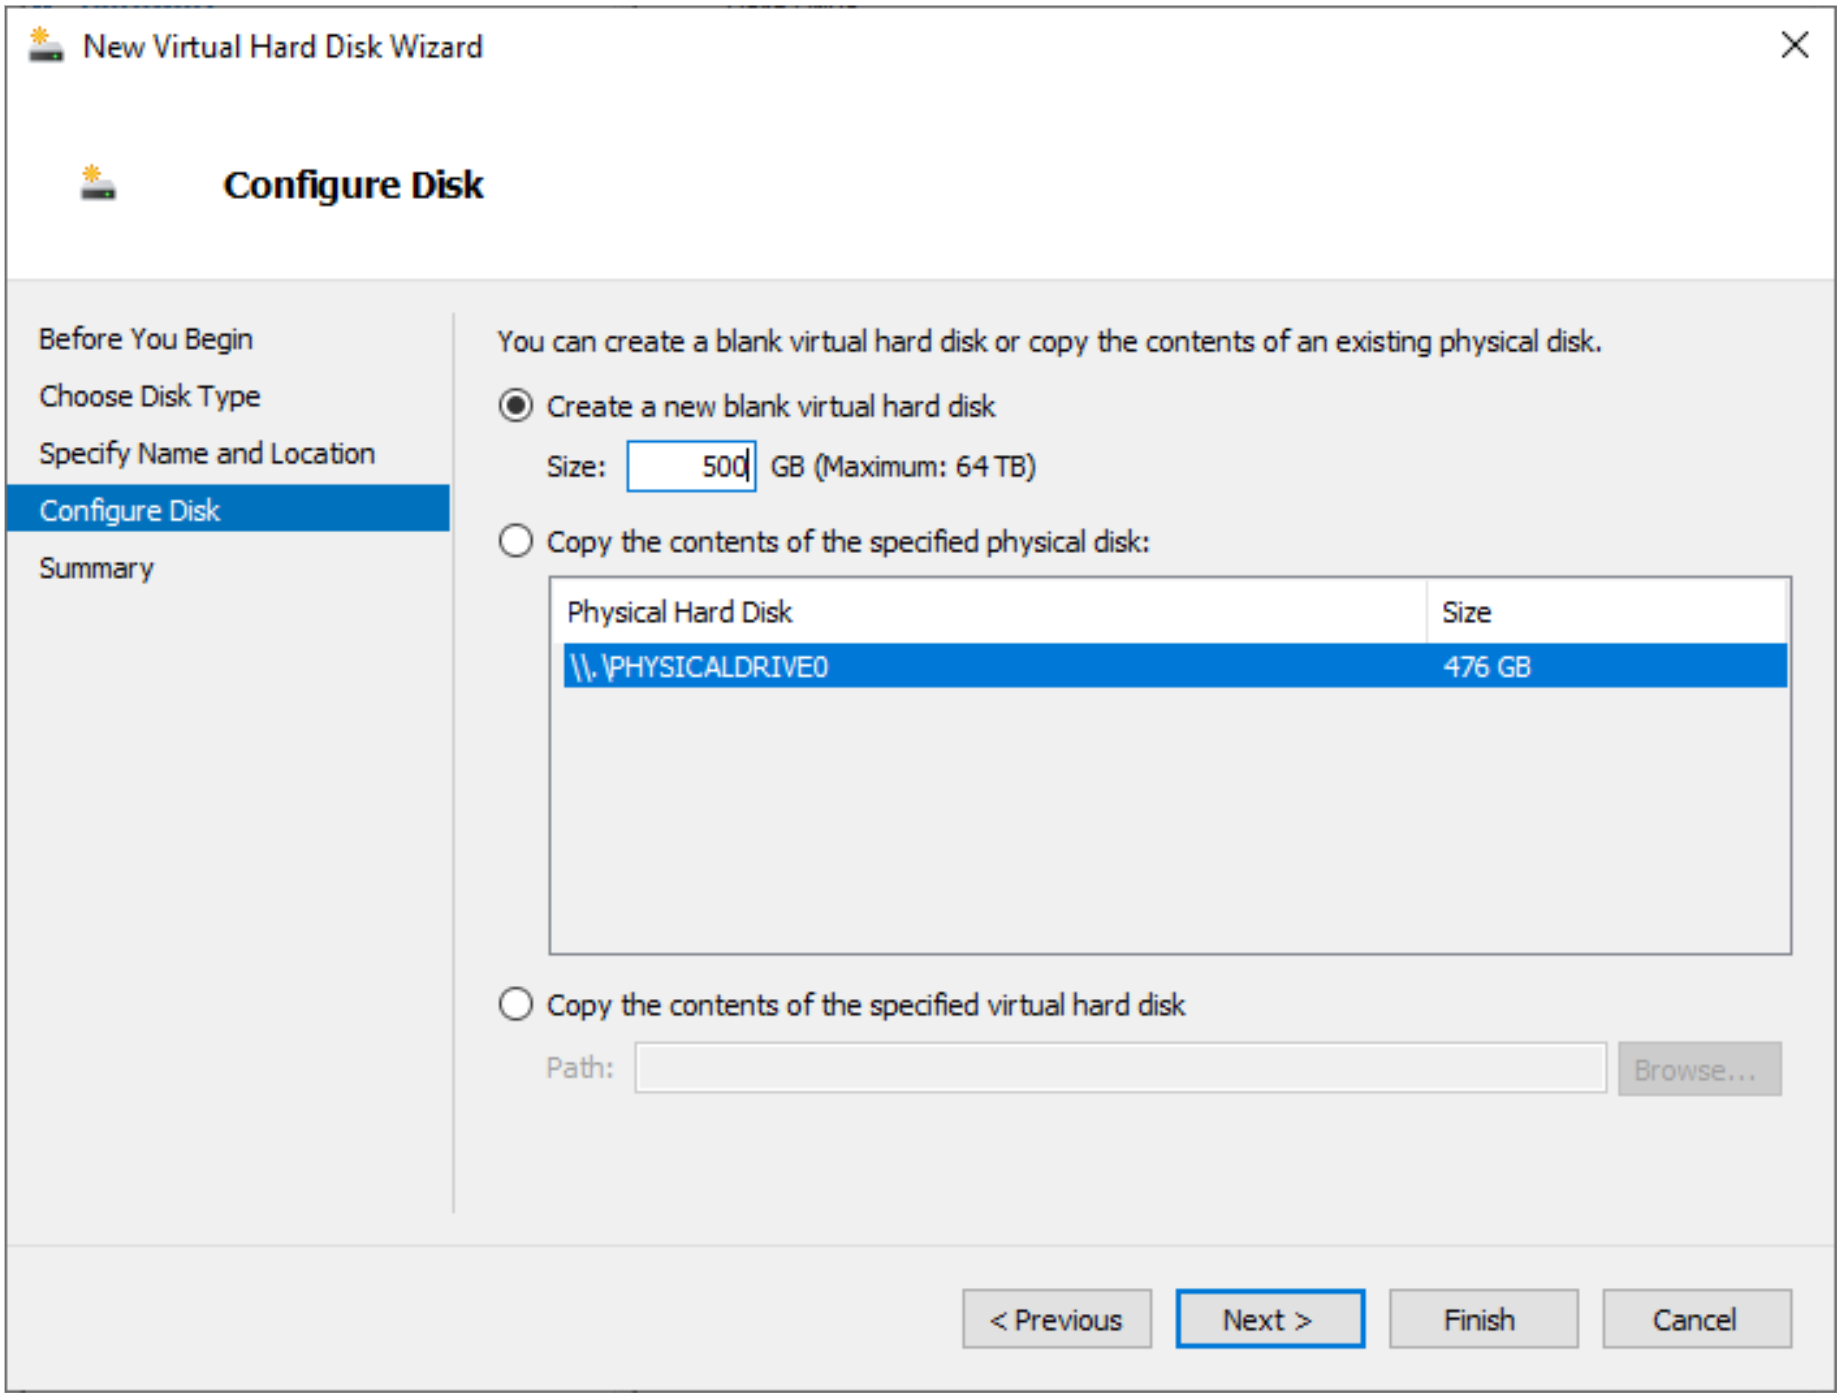
- We advise to create a blank virtual hard disk with 500GB and select Next.
- Once you have configured the settings detailed above, we advise that you confirm these with the output from the below screenshot and choose 'Finish'.
- Upon completion, the secondary disk should now be visible in the 'synergysky-appliance-20' settings screen with the location of the secondary disk in the Virtual hard disk field.
- Select Apply and you have successfully added a secondary disk for your Synergy SKY platform.

Start the Server
Start the Synergy SKY platform by clicking start from the Actions menu.
Connect to server
Your instance should now be running. In order to SSH into the Platform as required in the upcoming steps, you must first give it an IP address as Hyper-V does not set one
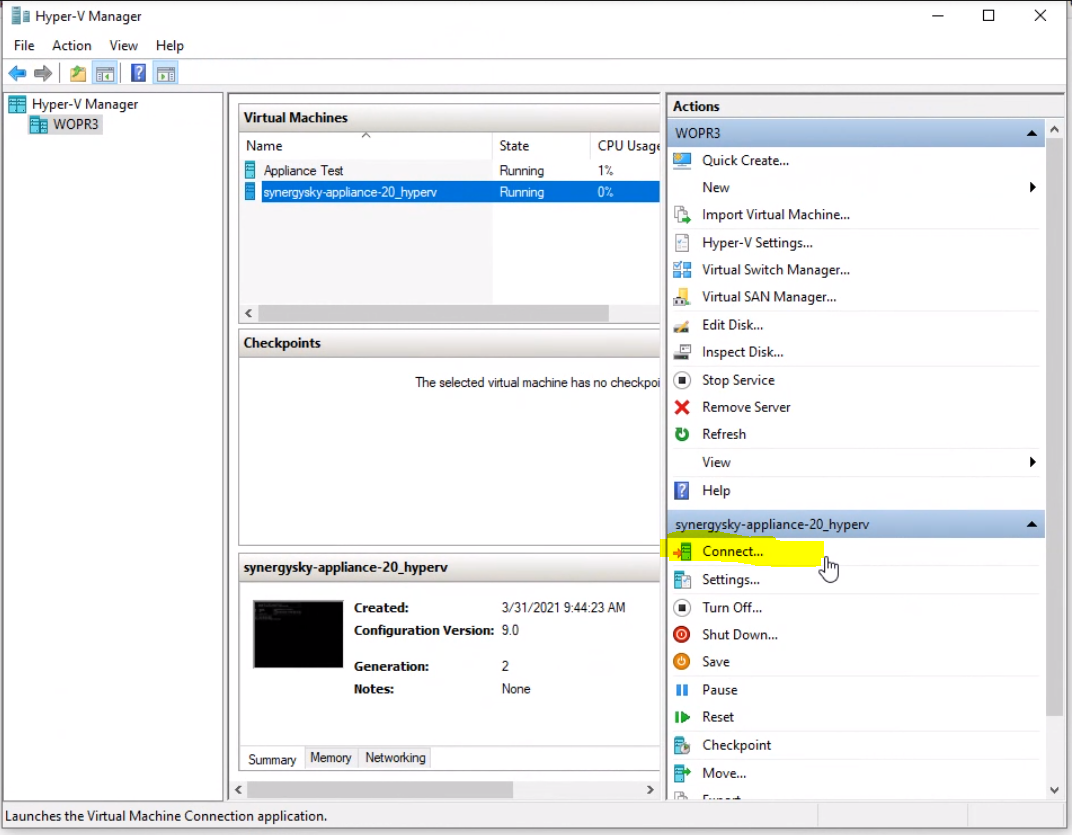
- Select your new Virtual Machine in the Hyper-V Manager window
- In the Actions menu, click 'Connect...'
- Log in with the default username/password
- Proceed to the "Next Step" section below to configure the network, and SSH access for further configuration.

