Installing & Configuring the Synergy SKY Management Suite
Introduction
Once the Synergy SKY platform is deployed in one of the supported virtualized environments, you will need to perform a one-time configuration of the underlying software. This article explains how to:
- Log onto the platform using SSH
- Configure the network properties
- Install the software
You can view our video tutorial at the bottom of this article for a full walkthrough assisted by one of our engineers.
Prerequisites
| Deployment Completed |
The Synergy SKY platform has been deployed and running in a virtualized environment. If this requirement is not already fulfilled, please start here.
|
| SSH client |
Download a suitable SSH client like PuTTY, OpenSSH, SolarPuTTY etc.
|
Step-by-Step Guide
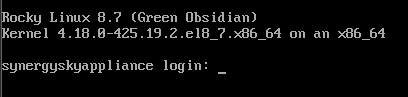
- Log onto the platform using SSH (if cloud hosted) or your VM console and provide the default credentials:
Username: admin
Password: SynergySkyWord01
Note: We strongly recommend that you change this default password later. How to change the passwords on the appliance
If you get an error after signing in about "Did not find an IP address" click here.
- Select Option 1 - Configure Network
Network Configuration page will appear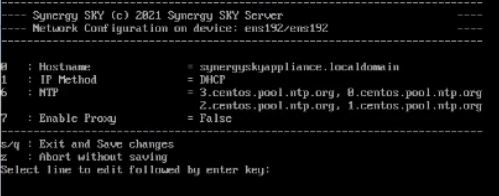
- Select Option 1 - IP Method - and ENTER
IP Method switches from DHCP > STATIC
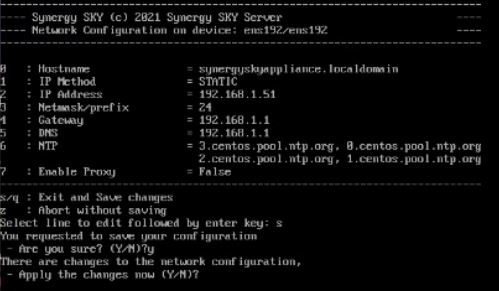
- Select 2 - IP address - and ENTER
- Enter IP address previously selected for the Platform (192.168.1.51 for our reference images)
- Select 3 - Netmask/prefix - and ENTER
- Enter required subnet mask prefix based on your local network configuration (24 for our reference img)
- Select 4 - Gateway - and ENTER
- Enter IP address for a gateway based on your local network configuration (192.168.1.1 for our reference img)
- Select 5 - DNS - and ENTER
- Enter DNS server address so external host names can be resolved over public internet. Without correct DNS configuration, the platform online license activation will fail. (192.168.1.1 for our reference img)
- Select s and ENTER to save & quit
- Select y and ENTER to confirm save
- Select y and ENTER to apply changes
- Press any key
Main menu will appear
Note: If using a VM console, you will need to disconnect from the Platform, launch your SSH client, and connect to the VM via that method for the remaining steps.
**NOTE: If you wish to proceed with external database please view: How To: Setup External Database before proceeding past this point. **
- From Main Menu: Select Option 2 - Install Appliance Software
Disk Manager page will appear
- Select your disk number from list. (There should only be one option.)
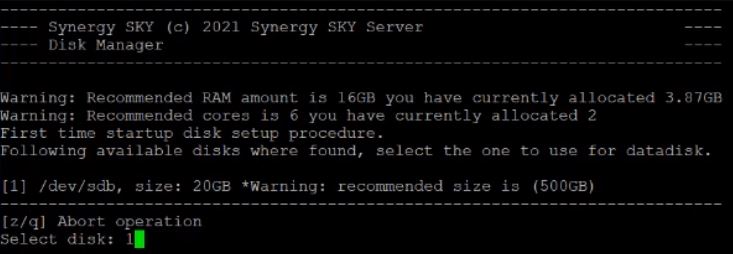
- Select y and ENTER to confirm.
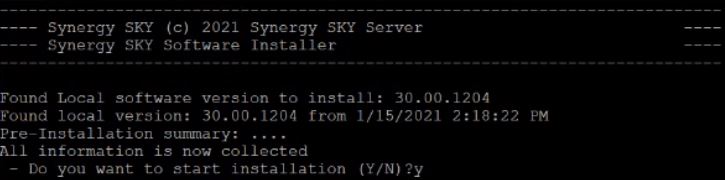
The pre-installation disk prep will begin. When complete, it will ask if you want to start installation
- Select y and ENTER to start installation
The Synergy SKY Suite software and services will be installed on the Platform. After installation, the console will give a positive response and display the IP address used to connect to the Suite.
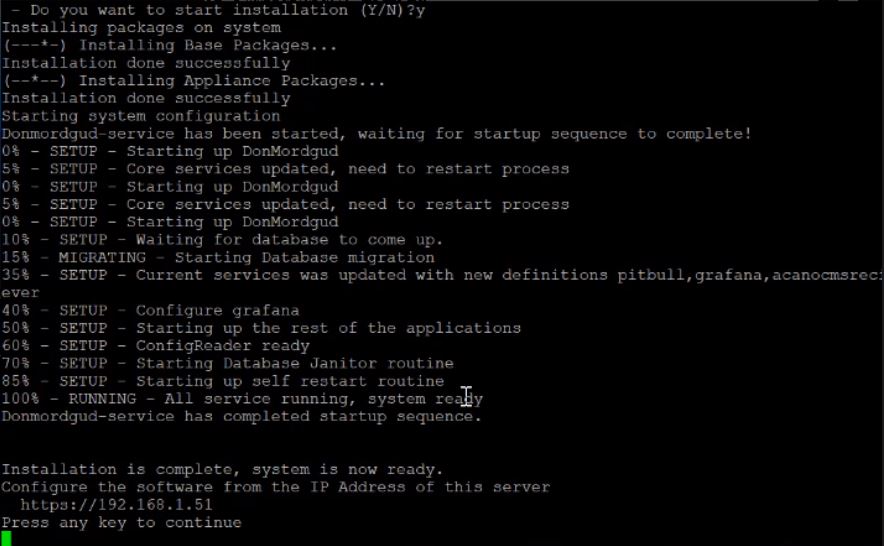
- Make note of the IP address and press any key to return to main menu.
Next Steps
Once the Platform setup as explained in this article is complete, the next step is to perform the Suite software configuration.
If coming from Synergy JOIN 5.0 to Synergy SKY Suite, see this article to proceed with migration steps.
If this is your first time using Synergy SKY software, go to this article to proceed with the configuration.
Video Tutorial


