As part of this guide, you will be taken through step-by-step to assist you with registering SIP video endpoints to the Synergy SKY Registrar.
Please make sure you have the following prior to starting this guide.
Purchased Synergy SKY CONNECT licensing with Registrar for all SIP Endpoints to be registered.
Obtained License Document from Synergy SKY that includes:
Number of devices allowed for registration
Registrar Domain for your organization
Registrar Proxy address
Naming convention for SIP URI’s for Endpoints in your organization
Example1: sydneyroom@company.call.vg
Example2: ny.nyc.room23@company.call.vg
Factory reset Endpoint (optional but recommended) – refer to Cisco guide for specific endpoint if needed
Go through Setup tutorial, on the ‘Call Service’ screen select ‘Other Services’ then ‘Advanced Setup’ when prompted
Log into Web interface using admin credentials (E.g. https://endpointIPaddress)
Default after factory reset is admin with no password or with the password set as TANDBERG
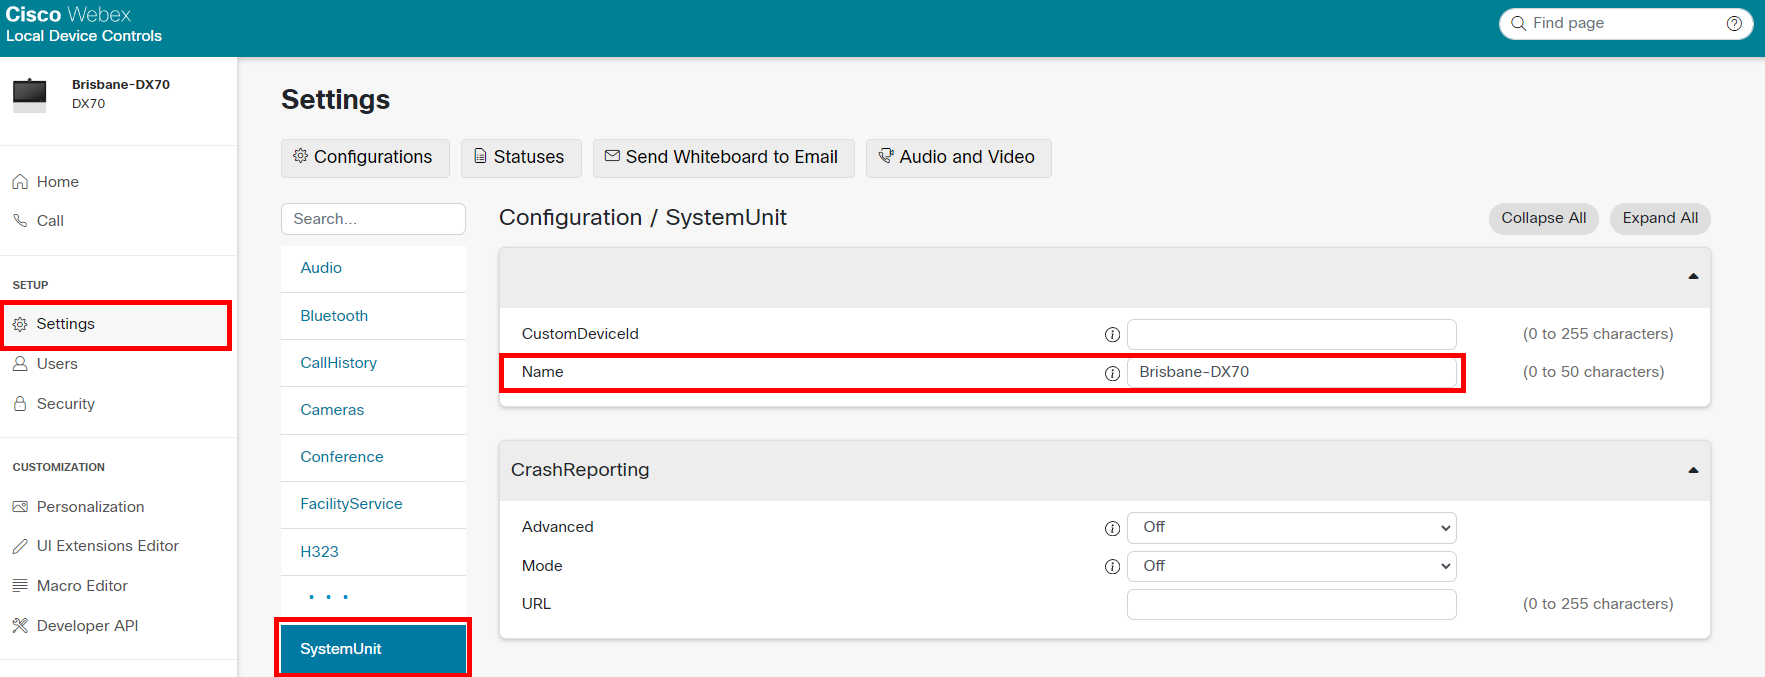
Under ‘Settings’ or ‘Configuration’ (depending on software version of endpoint) select ‘SIP’
Display Name – Name to be displayed when in call to other participants
ListenPort – For network security this is best set to Off
Proxy 1 Address – This is the Registrar Proxy address as provided in your license document
TlsVerify – Set this to Off
URI – This is the SIP URI for the Endpoint to be called on
Authentication – Username & Password will be provided by a Synergy SKY Representative
Select ‘Save’ at the top of the page, check status on ‘Home’ page


N.B. You may receive an error requiring a System Name to be set for the endpoint. This can be done in the Settings menu under 'SystemUnit' title.
Factory reset Endpoint (optional but recommended) – refer to Poly guide for specific endpoint if needed
Take note of Option Key(s) prior to factory reset, as these are not automatically retained
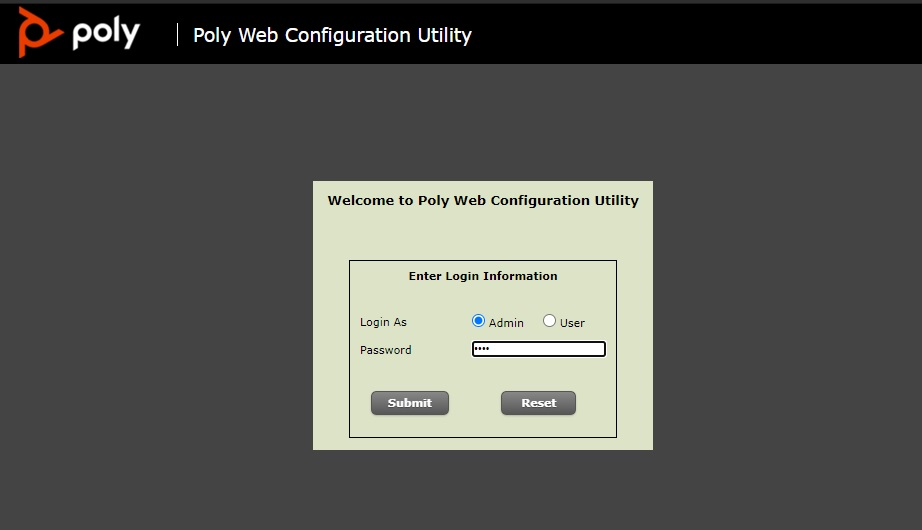
Log into Web interface using admin credentials (E.g. https://endpointIPaddress)
Default after factory reset is admin and either Full Serial Number of Endpoint (QDX, HDX or Group series) or last 6 digits of the Serial Number (X-series)
Access SIP configuration page:
For QDX, HDX and Group series go to Admin Settings à Network à IP Network and expand SIP
For X-series go to Call Configuration à SIP
Input information in the following sections:
Enable SIP: Make sure this is checked
Sign-in Address - This is the SIP URI for the Endpoint to be called on
User Name – Username will be provided by a Synergy SKY Representative
Password: Password will be provided by a Synergy SKY Representative
Registrar Server – This is the Registrar Proxy address as provided in your license document
Proxy Server – This is also the Registrar Proxy address as provided in your license document
Registrar Server Type – Set to Unknown or Standard SIP (depending on endpoint)
Select ‘Save’
You should see Registration Status as ‘Registered’ on page after saving


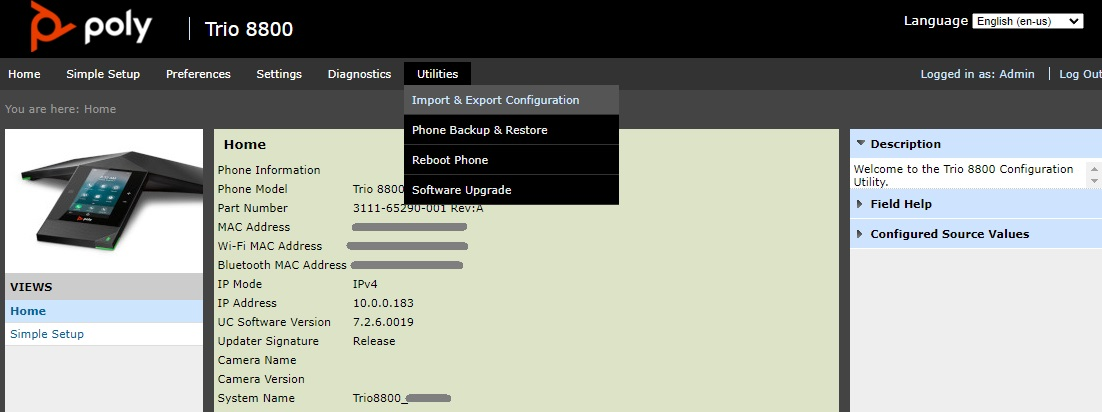
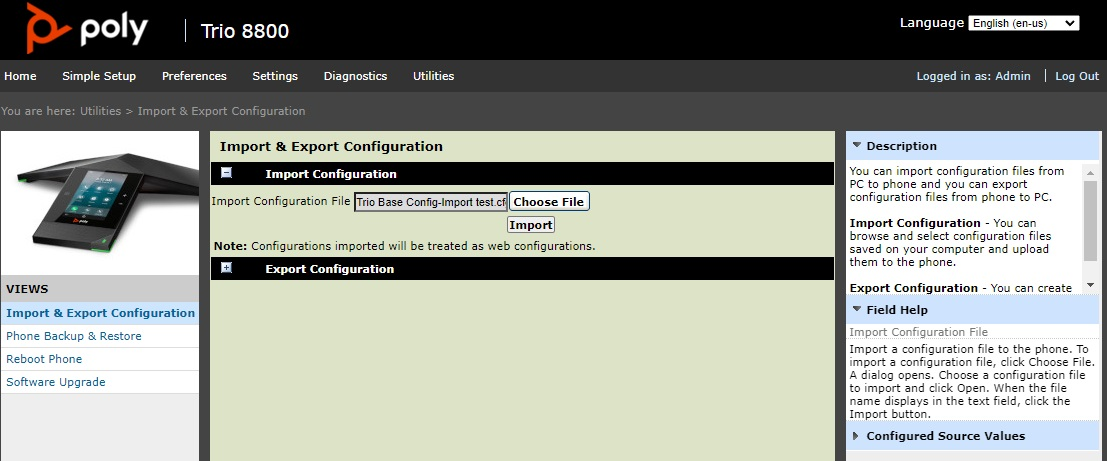
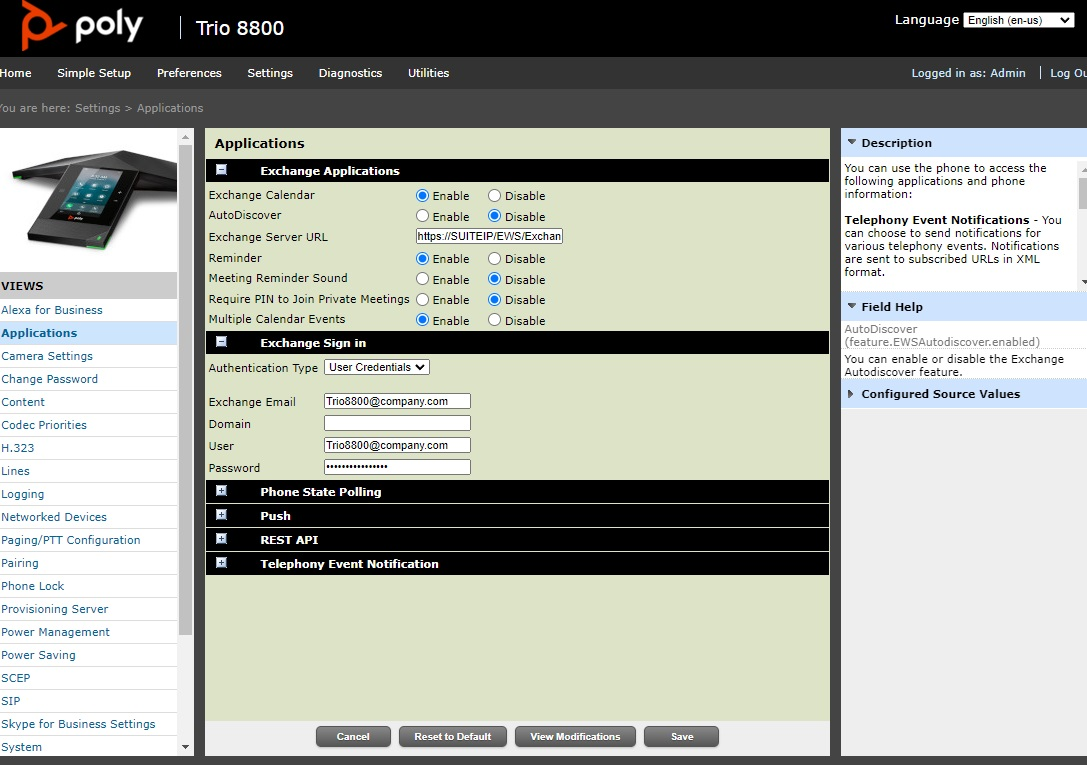
N.B. Although most settings can be done with the config file, Exchange User and Password cannot. These need to be input manually under Settings -> Applications -> Exchange Sign in
Once the Poly Trio 8800’s configuration is complete, you can pair a Poly Visual+ to enable video calls. To do this, follow the steps below.


