An Azure Marketplace account.
To accept an offer, you must be logged in to the Azure Marketplace and you must have Owner access to the billing account.
To subscribe to an offer, you must be logged in to the Azure Marketplace and you must have Owner access to the subscription you are using to sign up (the one linked to the billing account).
Your Azure policy should allow you to provision resources in the region where you choose to set up Synergy SKY.
Buying products that are provided to your organization under a private offer requires two steps: accepting the offer and subscribing to the offer. The purchase takes place only after you’ve completed both steps. Once this is done, you can proceed with the configuration of Synergy SKY.
You must accept the offer to subscribe to the offer. Accepting the offer creates a contractual agreement between you and Synergy SKY. The agreement includes all of the following components:
Synergy SKY creates the offer and sends you an email. Use the following procedure to accept the offer:
Click the link in the email to go to the offer. If you don’t see the email, check your spam filter.
Review the offer and select Accept Private Offer. The section highlighted below shows the total amount of the offer.
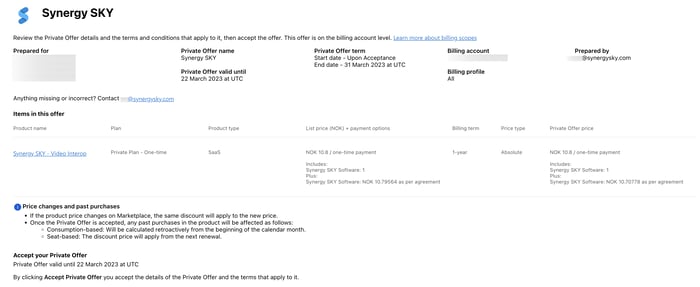
You’re not done yet. By accepting the offer, you’ve agreed to the terms and the prices Synergy SKY has listed. No purchase has been made and no money has changed hands. You must subscribe to the offer to finish the transaction.
You or someone in your organization has accepted the private offer from Synergy SKY. Use the following procedure to subscribe to the offer:
Sign in to the Azure portal and under Azure services, select Marketplace.
In the navigation menu, under My Marketplace, select Private products.
Select the Synergy SKY - Video Interop tile. If not appearing listed, manually look for the solution in the Marketplace.
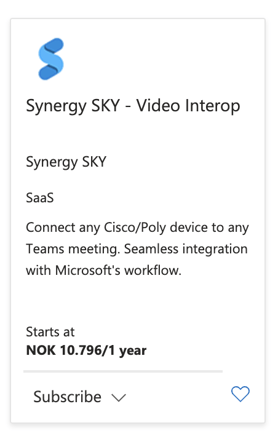
From Plan, select the Private Plan you desire and click Subscribe. To see a list of available plans and plan details, select Plans+Pricing.
For Resource group, choose Create new and enter a Name.
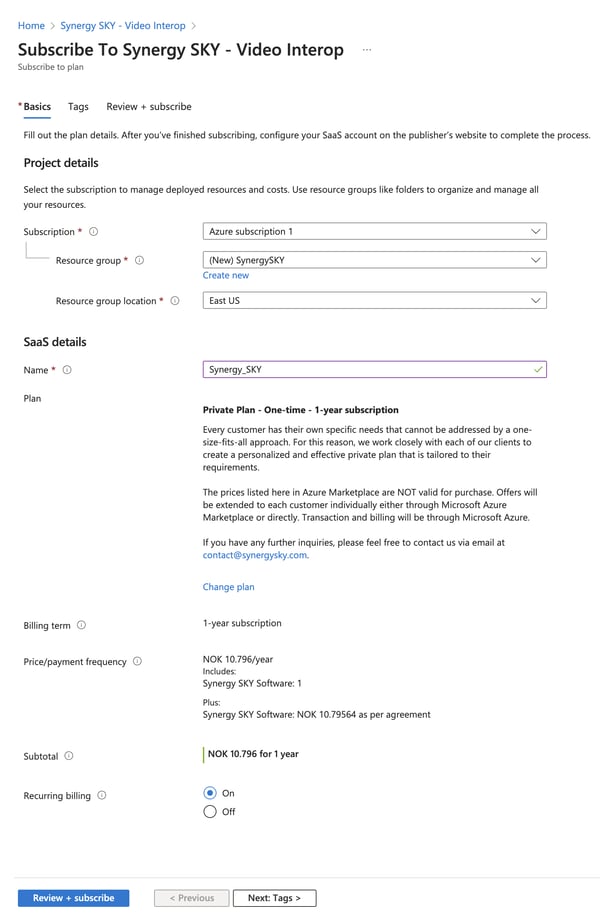
In Resource group location, select a region for the resource.
Note
The specified region is used to store metadata for this resource group, and does not need to be the same region where your Synergy SKY clusters are located. You are not charged for this usage.
For the Synergy SKY Organization details, choose to either Create a new Synergy SKY organization or Link to an existing organization. If you link to an existing organization, you will be prompted for your Synergy SKY Cloud account credentials.
7.1 Create a new Synergy SKY organization
Enter the name for your new Synergy SKY organization.
7.2 Link to an existing Synergy SKY organization
When you link to an existing organization, the existing organization should not be associated with an active commit subscription. If an active subscription exists at the time of linking, then the existing subscription will be automatically canceled.
7.2.1 Click the Link to an existing organization button to navigate to the Synergy SKY Cloud log in page.
7.2.2 Sign in with your existing Synergy SKY Cloud credentials.
7.2.3 The Confirm billing updates page displays. This page has two sections:
7.2.4 Current billing info shows your the billing information before account linking.
7.2.5 Updated billing with Azure shows the new payment method for the account after linking. Check each box to confirm that you understand the terms of service, billing terms and SSO settings.
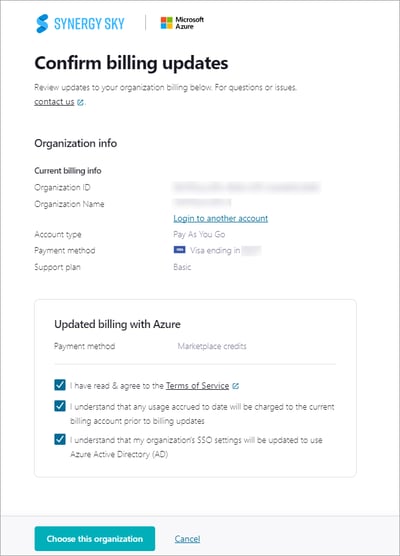
7.2.6 Click Choose this organization. Once confirmed, the linked organization name will appear next to the Synergy SKY Organization Name field in the Azure Portal.
(Optional) Click the Tags tab to create tags for your project.
Click Review and create.
After validation occurs, you are ready to create the resource. Review the terms of your plan and click Create. Your deployment will start. This could take up to a minute.
After your resources are deployed, you will receive a confirmation message. Click Configure account now to view the deployed resource on the Azure portal.
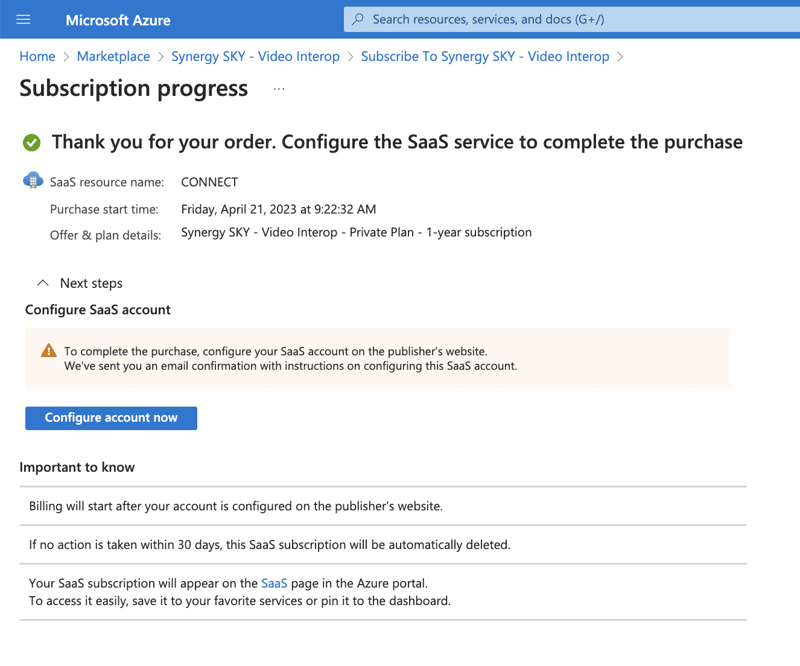
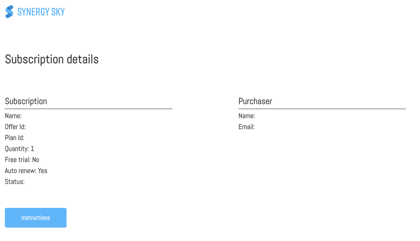
Either directly in the Azure Portal or by clicking the link in the email sent to you, you'll be taken to the following page:
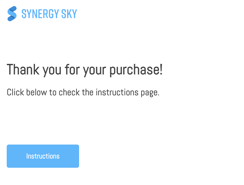
After pressing Instructions you'll land on an informational page.
Click on Subscription Details to confirm the details.