Technical Documentation
Search for in-depth articles on Synergy SKY tools and technologies.

  • There are no suggestions because the search field is empty.
 

Support > Getting Started > Software Configuration >
Software Quick Setup Guide

Software Quick Setup Guide


Introduction

Once the basic Platform configuration has been completed, it is time to start configuring the software. This includes the very important step of patching the Management Suite to the latest version of the software. 

This article explains how to:

  • Activate your license key
  • Update the SW version
  • Add a calendar integration
  • Add a meeting room
  • Add a video system
  • Deploy our configuration and begin using the Synergy SKY Software

You can view our video tutorials at the bottom of this article for a full walkthrough assisted by one of our engineers.


Prerequisites

Synergy SKY Platform Configuration

The Synergy SKY product has been deployed and running in a virtualized environment and the basic platform configuration has been completed. If this requirement is not already fulfilled, please start here.
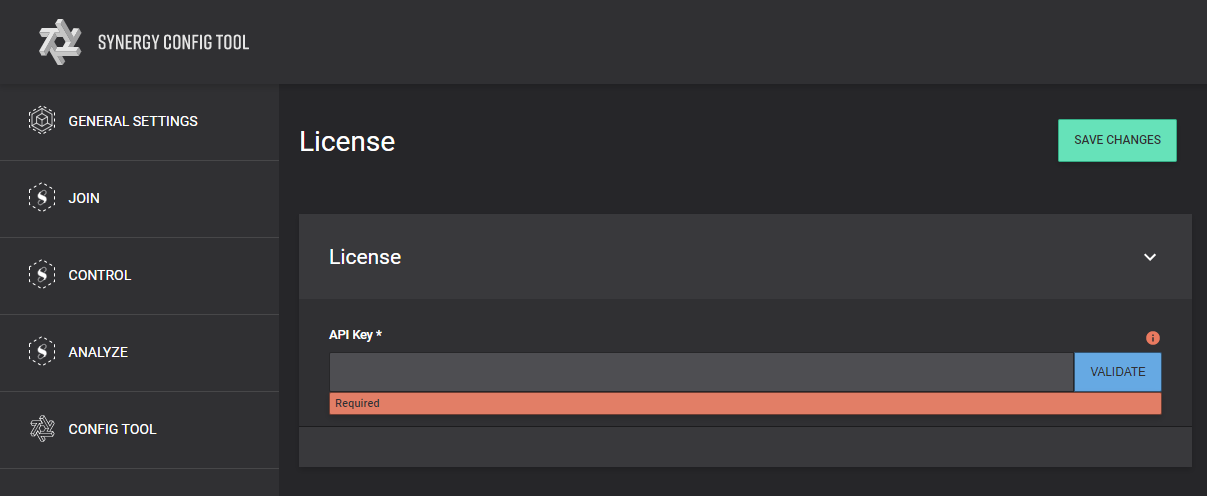
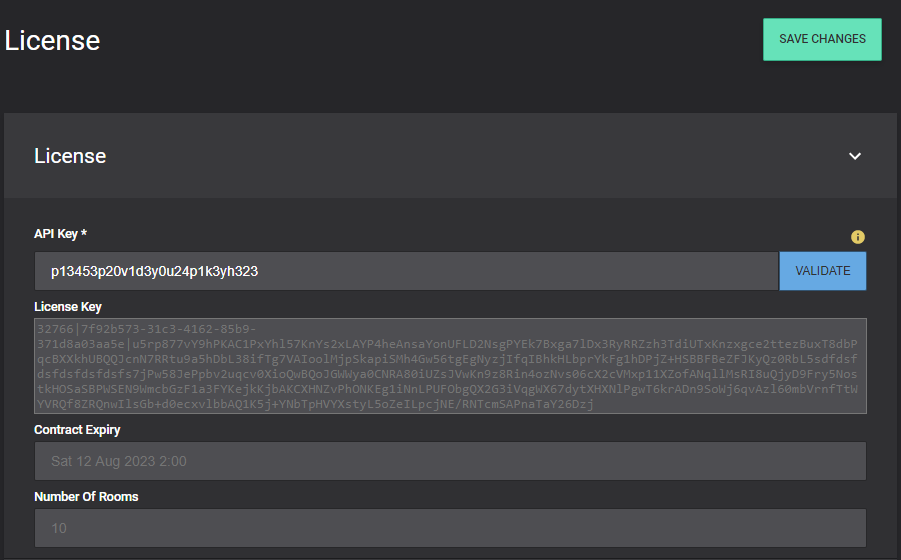
API Key

As a Synergy SKY customer you receive a license document containing information regarding your license. Before you can continue with this guide, make sure that you have your API key available.

Service account This account should have FullAccess permissions to the Room resource calendars we intend to have the Synergy SKY software monitor
Room resource calendar 

The room must have the appropriate permissions and settings based on your current calendar integration

Video System access IP address, login credentials
Internet access from Software server This is required for license activation as well as some MCU and Sensor access


Note: This guide will explain how to configure the Synergy SKY Software for EWS, using a Cisco endpoint and Cisco Webex. For Graph API, Google API, or for more details on EWS API, as well as adding other endpoint and meeting types, please refer to our guides


Configuration Reference

For more details related to each of the configuration pages in this guide, please refer to the Configuration Reference.


Step-by-Step Guide

Opening the Configuration Tool

1. Open the browser and enter the server URL/IP address, e.g. https://192.168.56.185.

blobid0.png

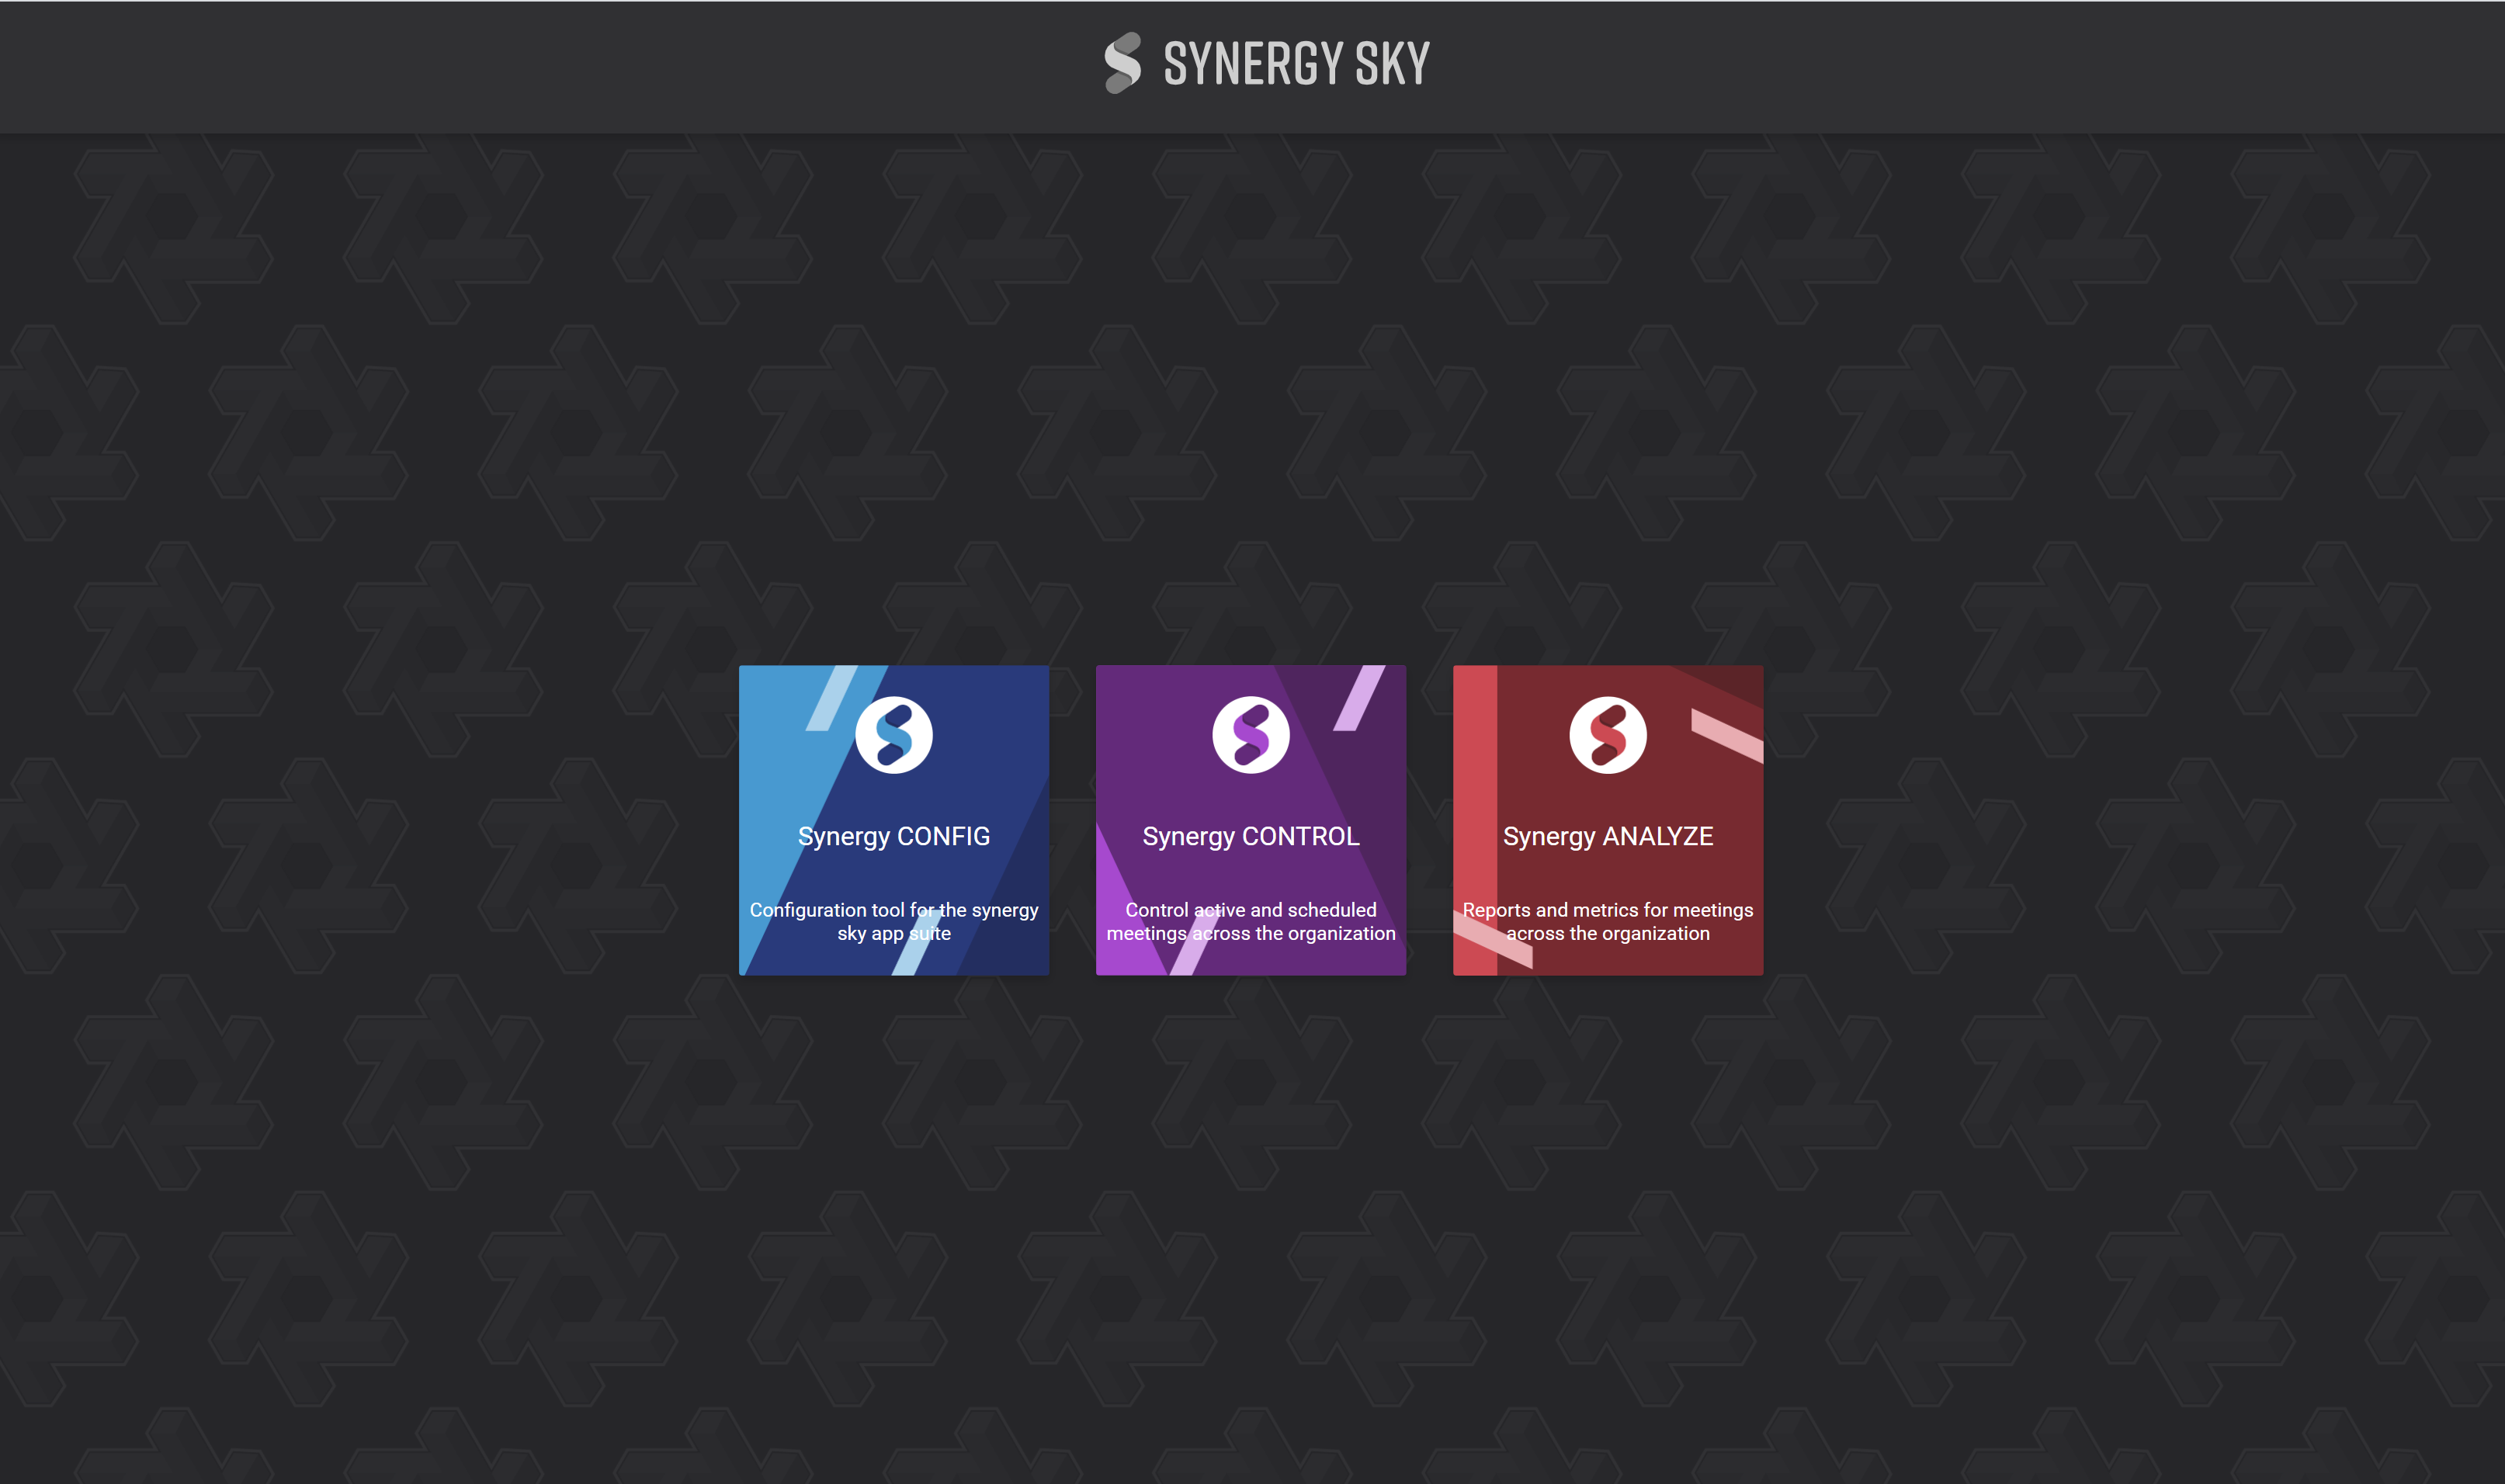
2. Click Synergy CONFIG to enter the global configuration. When prompted for credentials, use the following default credentials:

Username: admin@localhost

Password: Newpassword6

Note : You can change the passwords following this guide : Change the passwords on the appliance

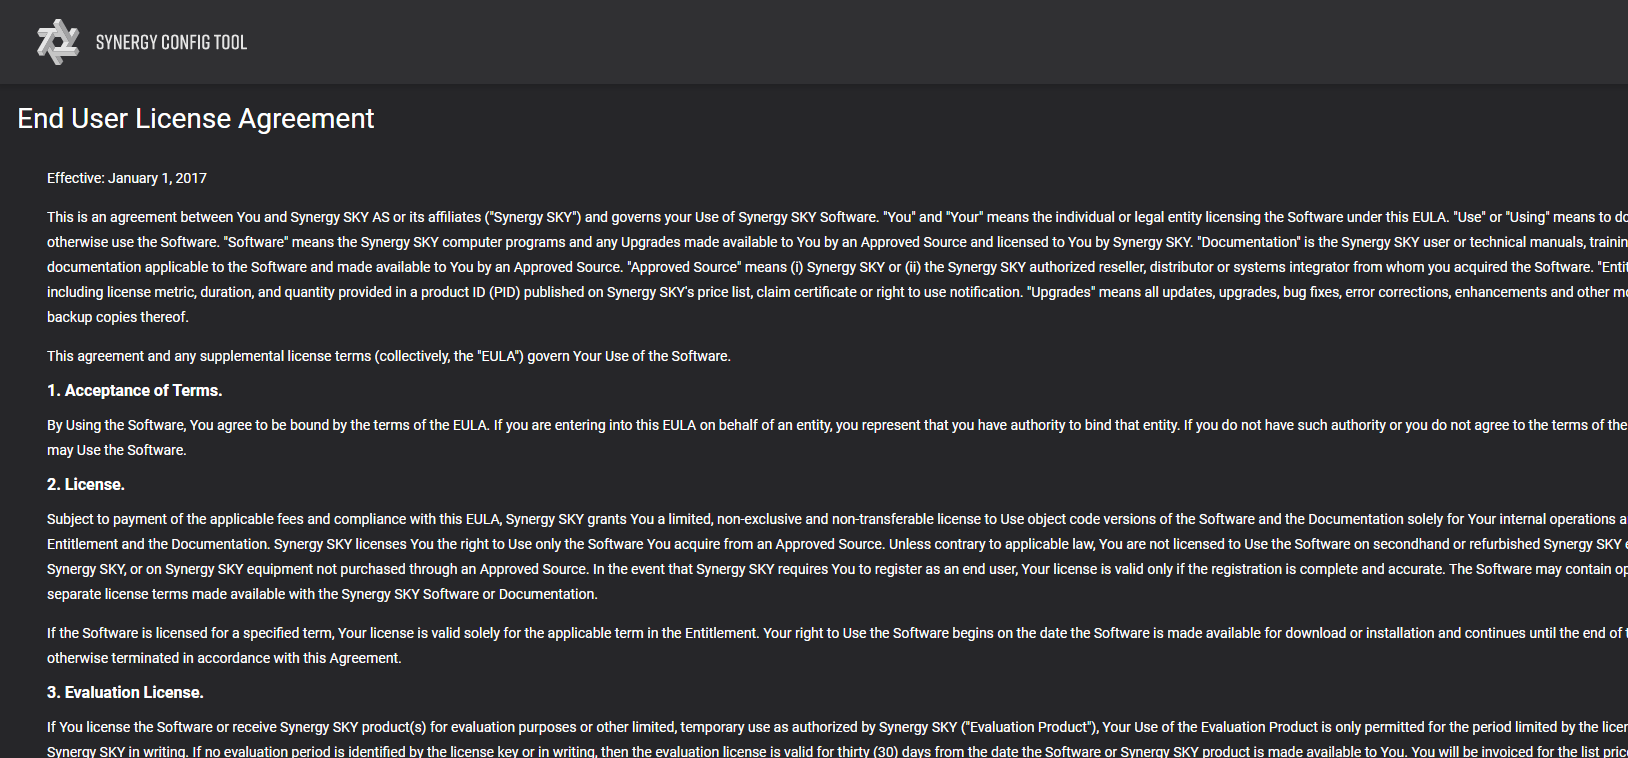
3. You will be redirected to the End User License Agreement, and this agreement has to be accepted before you can proceed with the configuration

blobid1.png


Activate Your License Key
  1. Click GENERAL SETTINGS and then License

    blobid2.png

  2. Provide your API key and click Validate. Once the API key is validated, the license details will populate, including expiry date and number of rooms covered by your license.

    blobid3.png

  3. Click Save Changes, and then deploy the configuration changes in order for the license information to take effect.

Important Notes:

  • If your installation of the Synergy SKY Platform does not have access to the Synergy SKY license server (refer to the General Requirements), you will need to contact your Synergy SKY representative to obtain an offline license key.

  • You can check access to the License server by verifying the server can access THIS LINK in a browser. A successful check will show:
    ["OK"]


Upgrade Management Suite to latest version

Synergy SKY Management Suite uses a base image + patch for initial installations. This base + patch method helps keep our various deploys consistent and simple. Updating the software after initial deploy is crucial for proper functionality.

  1. Navigate to CONFIG TOOL > Software Updates

    The page will display your current version

    mceclip0.png

  2. Click "UPDATE INFORMATION" to check for the latest version

  3. The latest available release will display.

    mceclip1.png

  4. Click "UPDATE" and monitor while the update is performed

  5. After the upgrade process is completed, click the "Return to Synergy SKY Management Suite" button

  6. Navigate back to CONFIG TOOL > Software Updates to verify you're running the latest version

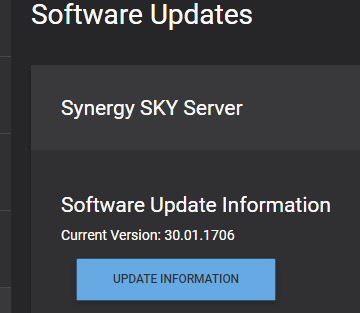
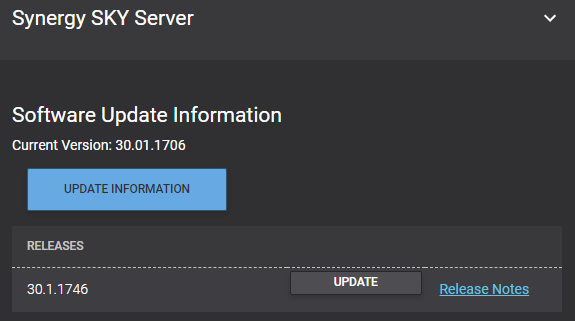
Note: The software must be patched before continuing.


Adding a Calendar Integration

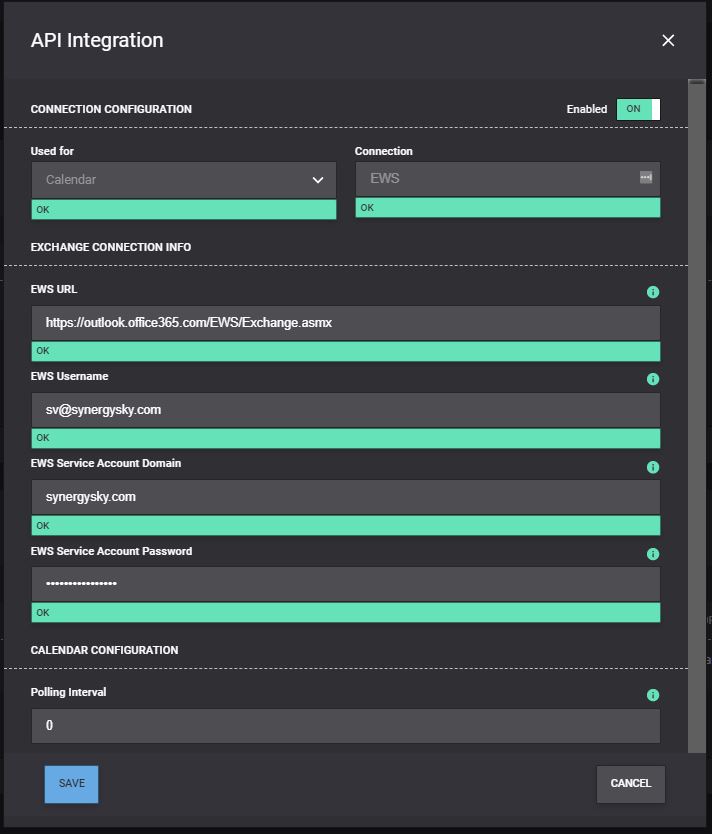
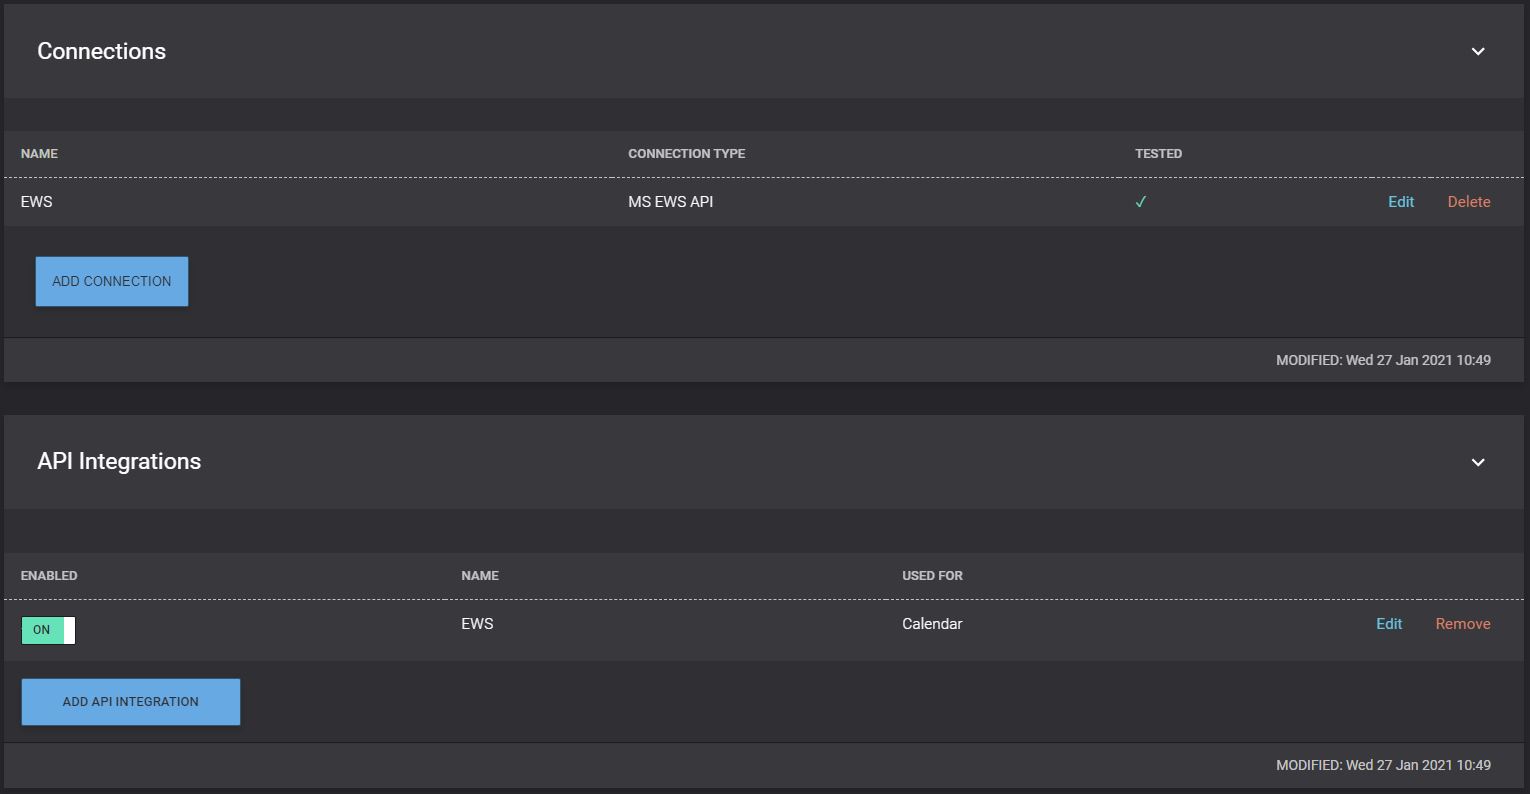
The Synergy SKY Software requires a calendar integration in order to run. The supported calendars are Microsoft Exchange on-prem, Microsoft Office 365 (Exchange Online) and Google Calendar. You will need an Exchange or Google Workspace administrator user to configure the respective calendar system prior to adding the calendar integration by following the relevant guide below:

Note: This guide will explain how to add an EWS integration. For Graph API, Google API, or for more details on EWS API, please refer to our guides. Also see our Configuration Reference for more information on the individual fields.

  1. Start here: GENERAL SETTINGS > Integrations Settings

  2. Under Connections, click ADD CONNECTION

  3. From the drop-down menu, select your connection type. In this example, we are using EWS

  4. Name the connection. This is necessary for later steps

  5. Fill in the remaining empty fields

  6. Click TEST CONNECTION

    int_TESTED.JPG

  7. Click SAVE to save the room and return to the previous page

  8. Under API Integrations, click ADD API INTEGRATION

  9. From 'Used for' dropdown, select Calendar

  10. A new dropdown will appear called 'Connection', select your named calendar connection

  11. The remaining fields should auto-populate. Verify they are correct

  12. We recommend leaving Polling Interval at 0

    addAPI_OK.JPG

    Note:
     For EWS integrations, Microsoft Exchange sometimes requires the username to be in the format of "domain\username" and sometimes "username@domain". In the latter cases the domain field is optional.


  13. Click SAVE to save the integration

  14. Ensure the new API Integration is ENABLED

    addedintegrations.JPG

  15. In the top-right corner of the page, click SAVE CHANGES


Adding a Meeting Room

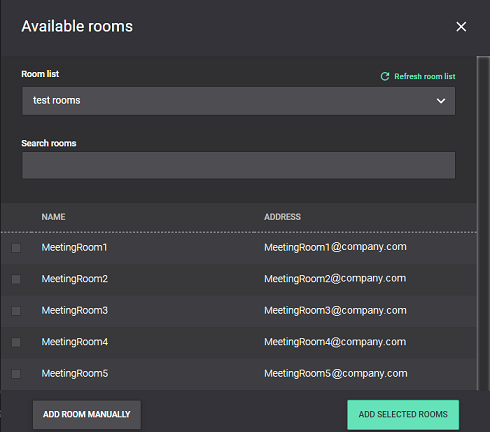
In this section, we will choose which meeting room resources should be monitored by the Software.

For adding additional rooms, or rooms of different types, see our How To on adding rooms in this guide.

  1. Under GENERAL SETTINGS > Rooms

  2. Click ADD ROOMS and wait for available rooms lists to load

  3. Use the dropdown to find a specific Room List, or search for a specific room by name or address

  4. When you find the rooms you wish to add, click them to select, then click ADD SELECTED ROOMS

    generalsettings_availablerooms.png

  5. The selected rooms will show in the Rooms list

    mceclip0.png

  6. Click SAVE CHANGES

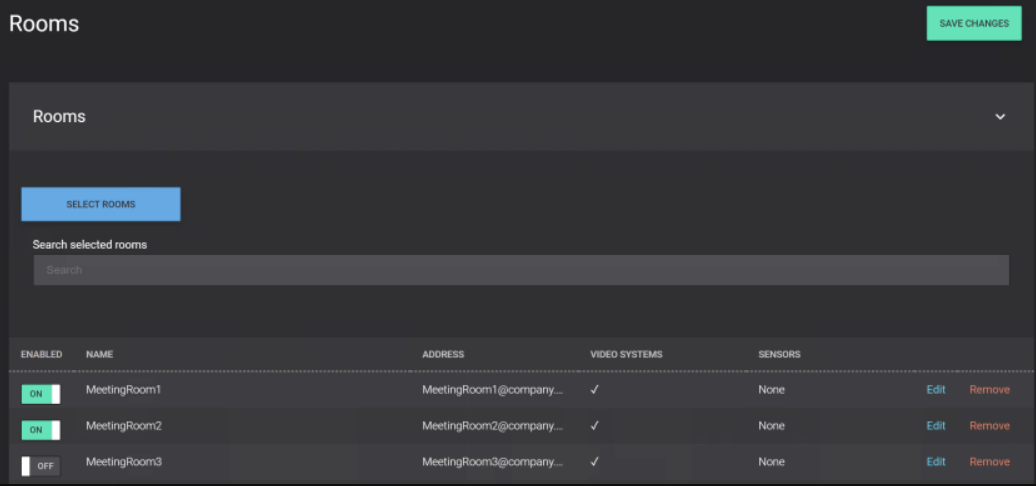
Note: You can click 'Edit' next to the newly added room to change the occupancy limit, or its prescribed VMR pool.


Adding a Video System

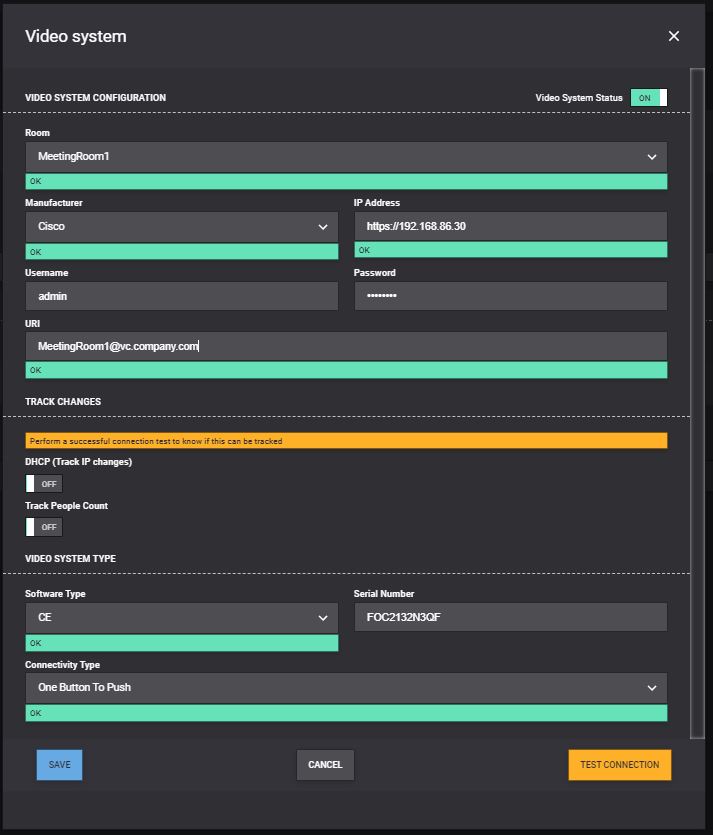
In this step we will add and define a video system, then we will tie it to the room we configured in the previous step.

For more details, or instructions on adding systems of different types (Poly, other), see our guide.

  1. Under GENERAL SETTINGS > Video Systems

  2. Click ADD VIDEOSYSTEM

  3. From the drop-down menu, select the room we added in the last step

  4. Select the Manufacturer from the dropdown

  5. Enter the Video System's IP address (applicable for Cisco endpoints only)

  6. Enter the login credentials for the endpoint. These will be the same used to log into the endpoint from the unit's web interface, which is accessed by browsing to the IP address in a web browser (Cisco endpoints only)

  7. Enter the URI for the system.

  8. The rest of the information should auto-populate

    VIDEOSYSTEM_add.JPG

  9. Click the TEST CONNECTION button at the bottom 

  10. A successful test will populate the 'Serial Number' field

  11. Click SAVE to return to the previous page

  12. Click SAVE CHANGES in the top-right of the page


Adding a Matching Rule

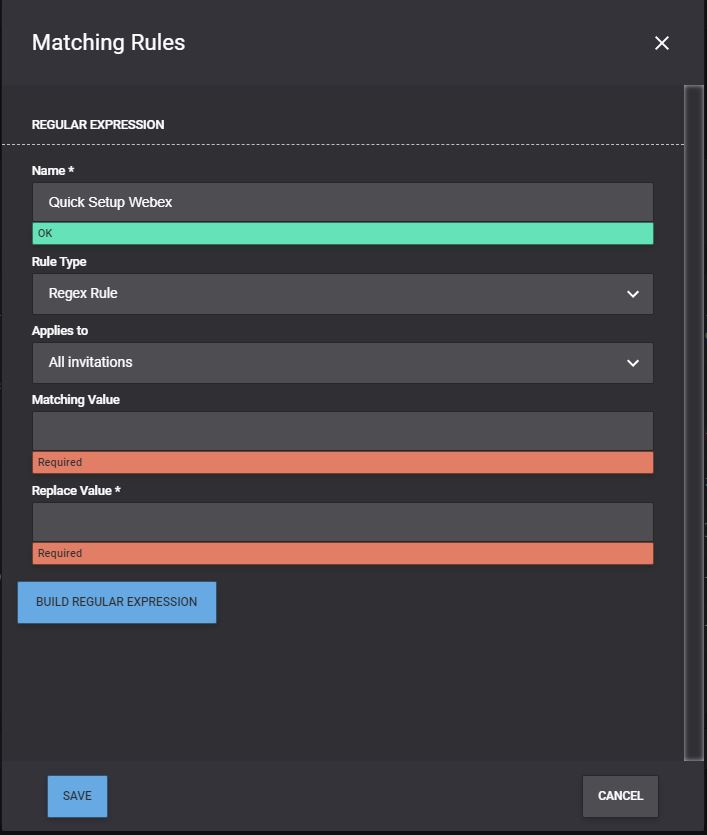
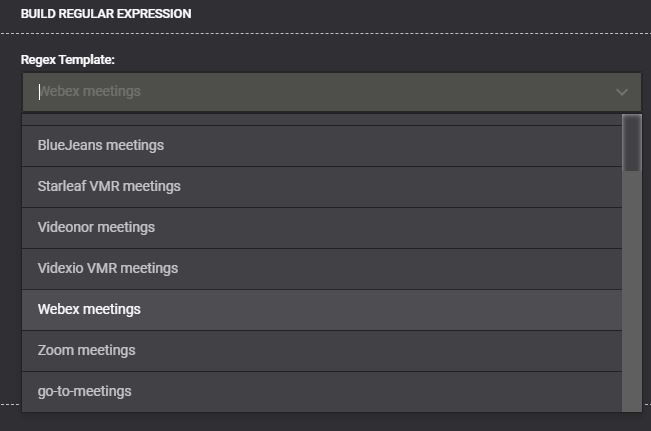
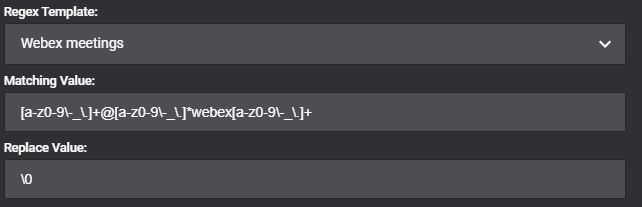
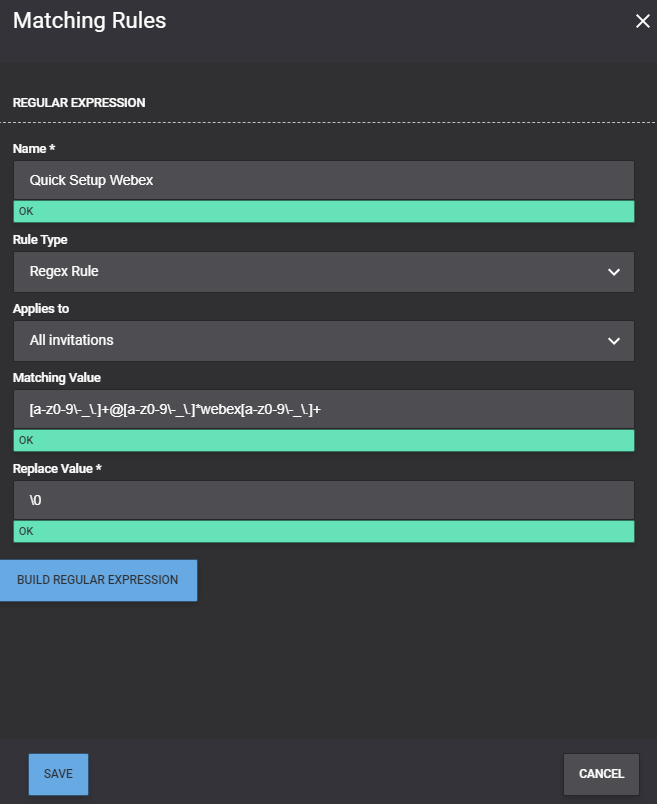
This is where we define to the software what meeting type to look for in order to push a green JOIN button to the endpoint. In this section, we will add a matching rule for Webex meetings.

For more details, or how to add and organize rules for additional meeting types, see our How To here.

  1. Under JOIN > Matching Rules

  2. Click ADD

  3. Name the rule. We typically name them after the meeting type with which they are associated.

  4. From the 'Rule Type' drop-down, select Regex Rule

    RULES_Add.JPG

  5. Click BUILD REGULAR EXPRESSION

  6. From the 'Regex Template' drop-down, select 'Webex meetings'

    rrrr.JPG

  7. You'll notice the software automatically populates the Matching and Replace values. You can paste a Webex invite into the 'Sample Text' field to verify a match.

    RULES_webex.JPG

  8. Click SAVE to return to the previous window

    mceclip0.png

  9. Click SAVE to save the rule and return to the Matching Rules page

  10. Your rule will now appear in the list
    RULES_list.JPG

  11. Click SAVE CHANGES


Deploying a saved configuration

After each change we make in the various sections of the software, you must SAVE CHANGES before moving to the next. After saving, a notice appears stating that your changes have been saved to the database, but not yet deployed/applied.

Note: You can choose to deploy after every SAVED change, or you can make multiple changes to the configuration and deploy them all at once. For additional information on how to name, organize, and manage your configuration versions, see our How To here.

  1. Under CONFIG TOOL > Configuration Versions

  2. At the bottom of the Configuration Versions page, click the line named "Current" to select the staged configuration we've created

  3. Click DEPLOY CONFIGURATION to apply those changes

  4. Click OK to confirm deploy

  5. The list at the bottom will update with your current configuration set. By default, deployed configurations are named "Publish Current"
    CONFIG_list.JPG


Next Step

You have now completed the basic configuration of the Synergy SKY Software, and are ready to tailor make it to suit your needs. The next step in the configuration procedure is to review our guides that describe how to expand and configure the Software to your specific environment.

For an overview of all sections of the Configuration Tool, please refer to the Configuration Reference.


Video Tutorial

Still in need of help?

Create a ticket