Deploy within Microsoft Azure
Introduction
The Synergy SKY Platform is a Linux-based VM image that can be hosted within most virtualized environments. This article describes deployment within Microsoft Azure environments including how to:
- Download the required virtual machine image
- Create a Resource Group
- Create a Storage Account
- Create a Managed Disk
- Create the Virtual Machine
- Add the data disk to the Virtual Machine
- Access the Virtual Machine
You can view our video tutorial at the bottom of this article for a full walkthrough assisted by one of our engineers.
Requirements
| Server Requirements |
Standard D4s v3
CPU: 4 cores
RAM: 16 GB
HDD: 500 GB (SSD mandatory)
|
| General Requirements |
Please refer to the General Requirements
|
Step-by-Step Guide
Download the Virtual Machine Image
- Download the virtual machine image from this link: https://download.synergysky.com/image/synergyskysuite_rocky_azure.vhd
SHA256 Checksum for synergyskysuite_azure.vhd: F6F6FE1A68F71F2679BC44C122FED7D68E3F5E300B197BEFC9C97961943BFBF6
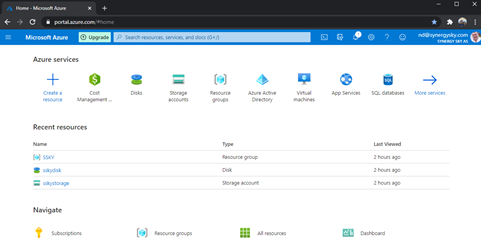
Log in to Azure Portal
- Go to https://portal.azure.com and log in with your Microsoft credentials
Create a Resource Group
In Azure, a Resource Group is a logical folder for all the resources you create, including Disks, Storage Accounts, VMs, and Network Security Groups. If your organization limits the ability to manage Resource Groups, reach out to your Azure Administration Team for assistance.
To create a Resource Group, follow these steps:
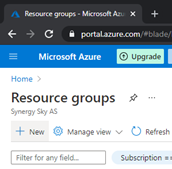
- Select Resource Groups in the menu on the left.

- Select the +New button on the top left of the Resource Groups panel.
- Enter a Name, select your Subscription, and select a region for your Resource Group Location, then select "Review + create"
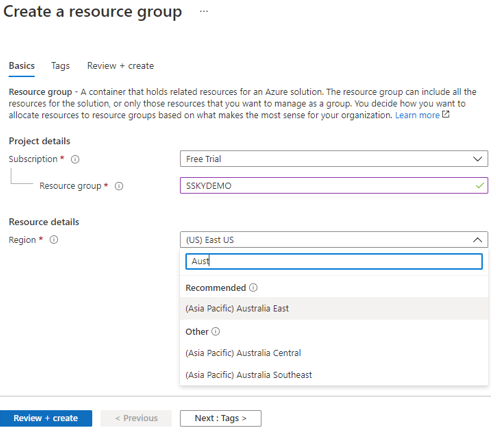
- On the next page, select "Create" to create your Resource Group.
Create a Storage Account
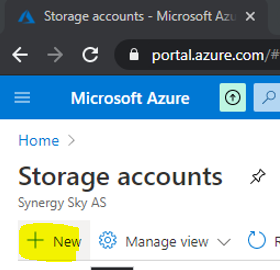
- Select Storage Accounts from the menu in the top left
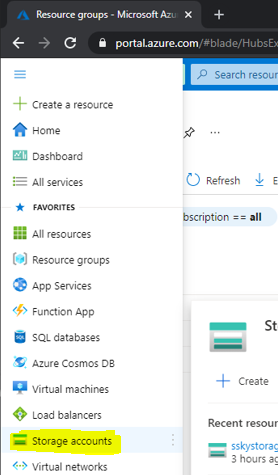
- Select the "+ New" button on the top left of the Storage Accounts panel
- On the Create Storage Account panel, provide a name in lowercase characters and numbers
- For Resource Group, select "Use Existing" and then pick your resource
- Select a Location.
Note: This location can be different from the Resource Group location
- Select Performance level for storage, based on your organization's requirements. Default setting is 'Standard'
- Select Account kind for storage, based on your organization's requirements. Default setting is 'StorageV2 (general purpose v2)'
- Select Replication based on your organization's requirements. Default setting is 'Read-access geo-redundant storage (RA-GRS)'
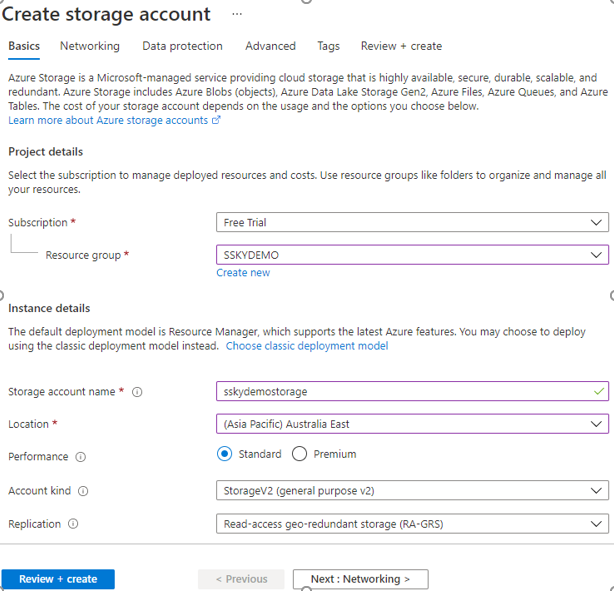
- Select "Review + create", and on the following page select "Create". This will create and deploy the Storage Account
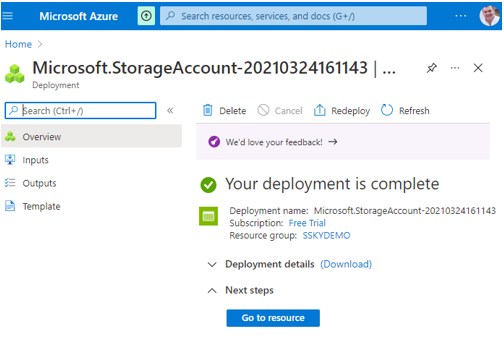
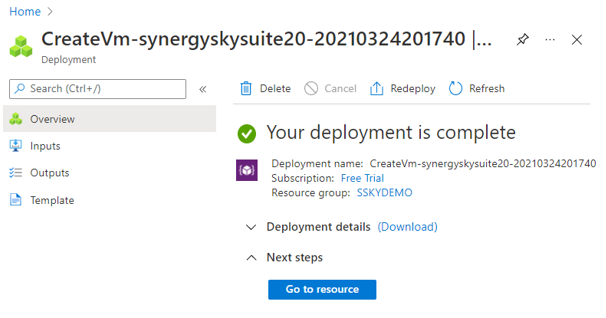
- After the Storage Account is deployed, click "Go to resource" as shown in the above picture.
Note: You may need to click the "Refresh" button on the Storage Accounts page
- Select"Storage Account Overview"
- Select "Blobs"
- Under the "Blob service" section, click "Containers"
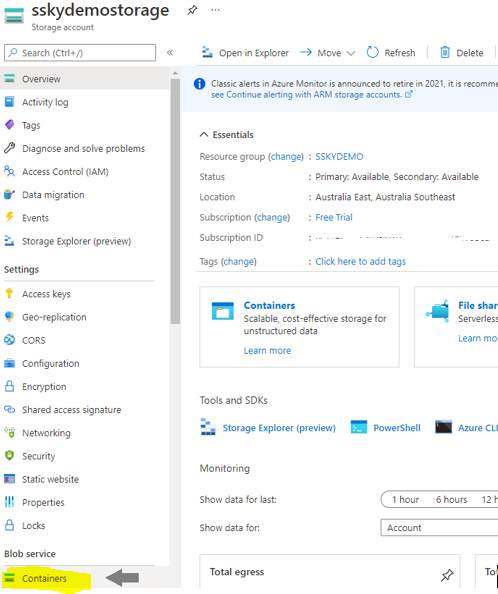
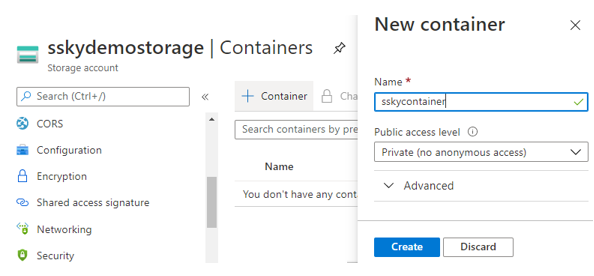
- Select "+ Container" to create a Storage Container in the Storage Account
- Enter a name and select "Create"
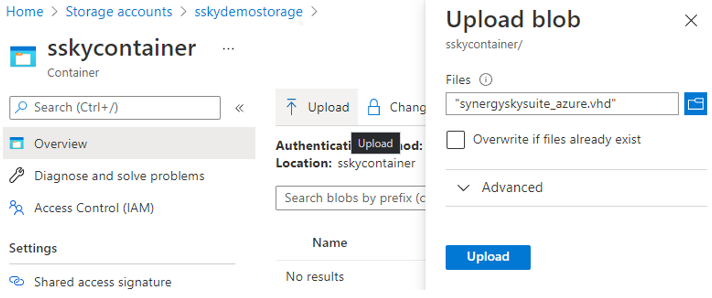
- Select the newly created Container and an empty blob list will appear
- Select "Upload", then select the Synergy SKY .vhd image, then "Upload"
e.g. synergysuite_20_azure.vhd
Note: The upload process can take one hour or more, based on your upload speed
Once you have uploaded the file, if you receive the error 'The specified cookie value in VHD foot indicates that disk 'synergysuite_20_azure.vhd' with blob https://synergy... is not a supported VHD' you may have to reupload the file as this indicates there was a problem during the upload process
Create a Managed Disk
The next step is to create a disk in Azure. To create a disk, follow these steps:
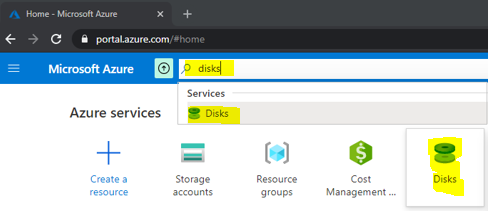
- Return to the Azure Portal home page(https://portal.azure.com/#home) and select "Disks" from Azure Services. Alternately, type "disks" in the search field at the top of the page and select the service from there
- On the Disks page, select the "+ Add" button to add a new disk
- Under "Resource Group", select your previously created Resource Group
- Provide a name for the disk
e.g. synergyskysuite20
- Pick a Location/Region
Note: The Disk MUST be created in the same location as the Storage Account the VHD resides in
- Availability zone should be set to 1
- Source Type should be set to "Storage Blob"
- The source subscription should already be populated from previous steps; if not, select the same as what was used previously
- For "Source blob" click 'Browse' and pick the VHD uploaded previously
Note: Storage Account > Container > VHD > Select
- Under OS, select "Linux"
- Under VM Generation, select "Gen 2" If Gen 2 is not selected the server will not boot.
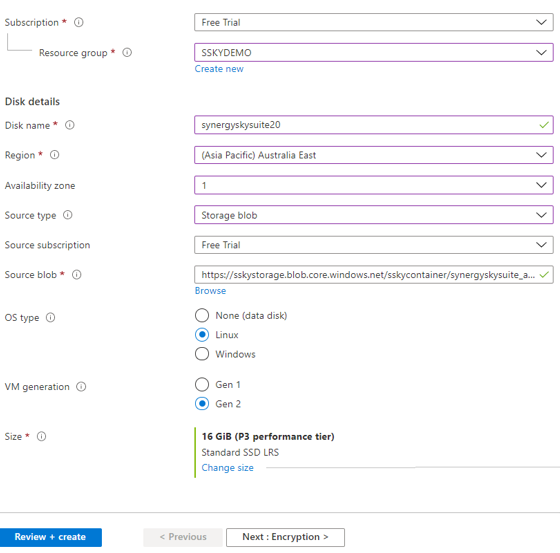
- Under Size, select "Change size" and the "Select a disk size" window will appear
- Under Disk SKU, select at least "Standard SSD" & 16GiB
Note: The VHD is 11GiB
- Click OK

- Select "Review + create", and on the following page select "Create". This will create and deploy the Disk
Create the Virtual Machine
To create a Synergy SKY platform Virtual Machine in Azure, follow these steps:
- On the Disks page, select your newly created Disk
- Select "+ Create VM"
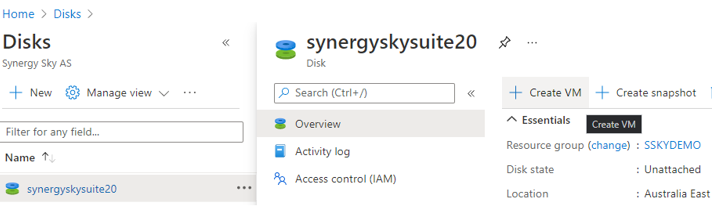
- The "Create a virtual machine" page should open to the "Basics" tab
- Under "Resource Group", select your previously created Resource Group
- Give your Virtual machine a name
e.g. SynergySKYSuite20
- Region will be disabled as it is determined by the Disks Storage Account location
- Select Availability options for redundancy, based on your organization's requirements.
Note: Default setting is "Availability Zone" if the disk has been configured in this manner
- Select "Availability zone" to match what was set for the Disk
- The "Image" section should display the name of the previously created Disk
- The "Azure Spot instance" box should remain unchecked
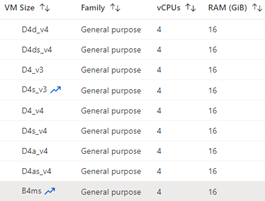
- For "Size" select "See all sizes"
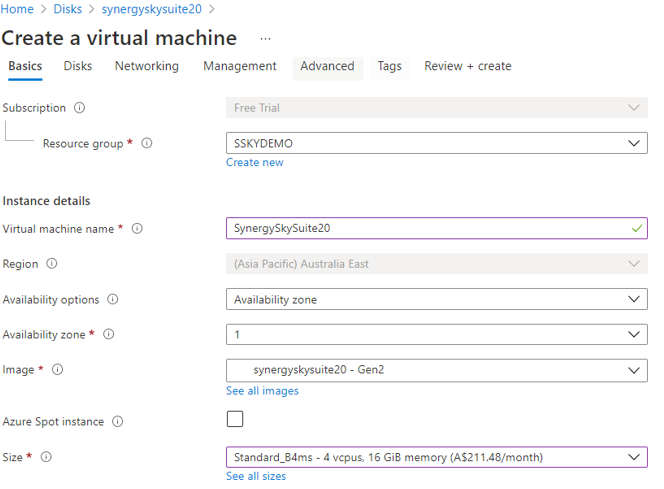
- Select the D4s_V3 compute VM Size at a minimum.
Note: See requirements for more
- For "Public inbound ports" select "Allow selected ports"
- For "Select inbound ports" choose "HTTP (80), HTTPS (443), SSH(22)" at a minimum
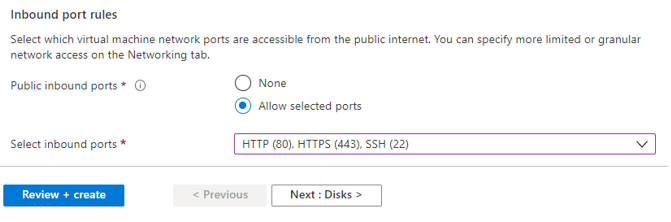
- At the bottom of the page, select "Next: Disks >" to proceed
- The settings under the "Disk options" heading can be left as default, based on your organization's requirements.
- Under the "Data disks" heading, select "Create and attach a new disk"
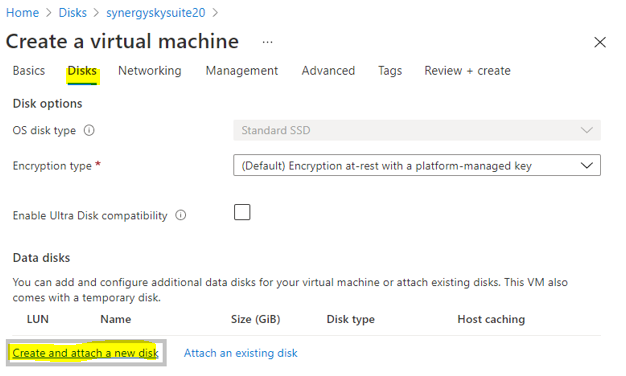
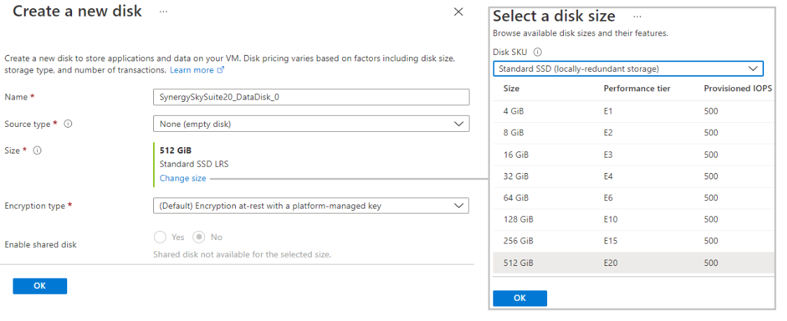
- Select "Standard SSD" from the "Disk SKU" dropdown, based on your organization's requirements
Note: SSD is mandatory
- Select a "512 GiB" disk at minimum, followed by OK and OK again.
Note: The size requirement is due to this disk housing the Synergy SKY Software's database.
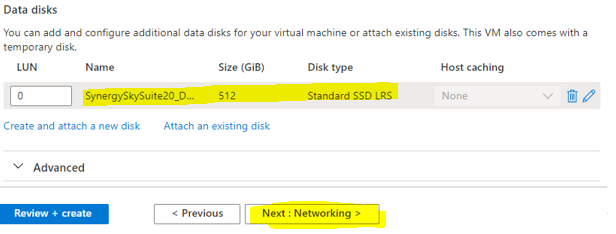
- The new disk should appear under the "Data disks" heading. Select "Next: Networking >" to continue
- The platform utilizes one network card to communicate with your organization's network. This should be set with connectivity according to the network requirements laid out in the General Requirements (see top of article)
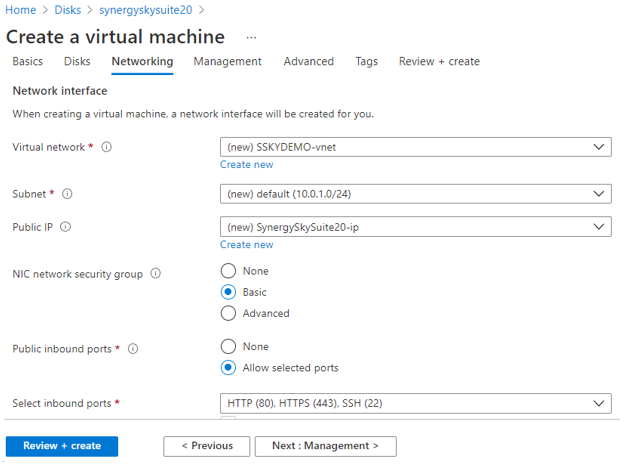
- Select "Review + create" to proceed, then "Create" to deploy the Synergy SKY Platform VM
Access the Virtual Machine
- Once the VM deployment is complete, select Virtual Machines on the left menu.
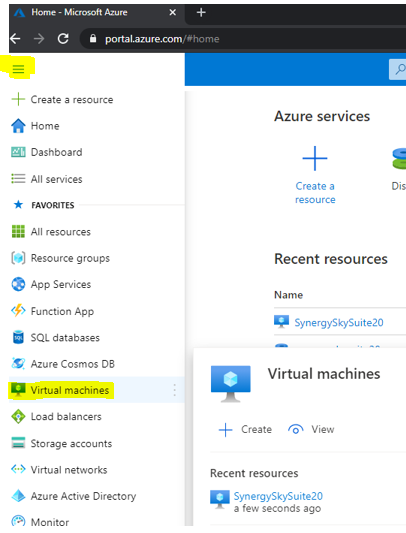
- Select the VM you created. The Public IP Address is listed in the right column of the Overview tab.
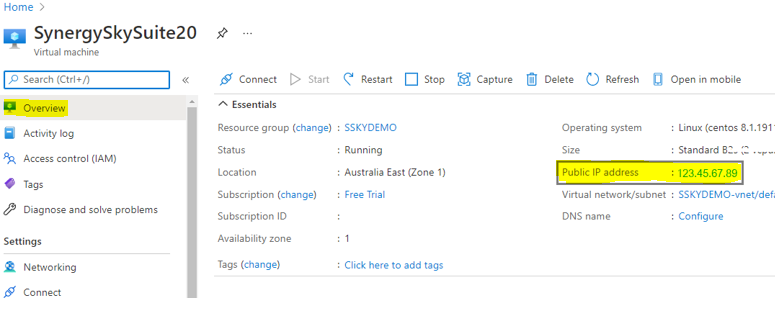
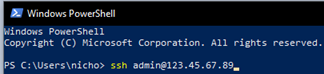
- Use this IP to access the Synergy SKY Platform over SSH using the default username and password.
Username: admin
Password: SynergySkyWord01
e.g. ssh admin@<public ip address>
Note: the password can be changed following this guide.
Next Step
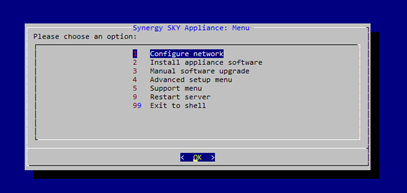
Your instance should now be running, and once you menu screen appears, you can proceed with the configuration explained in this article.
Video Tutorial


